

I was put in charge of making the photo display for my sister-in-law's bridal shower. I wanted to make them something that could be hung in their house after the shower. I saw this idea done on a 12x12 scrapbook page, so I thought I could do it on a canvas.
I started by laying out the pictures on an 18x24" canvas. I used 4x6, 5x7, and 8x10 photos. This was a rough lay out to try to get an idea for what photos would fit and how the colors would blend.

The photo squares are 1-inch squares. To figure out the spacing, I cut the bottom inch off of the bottom row of pictures. After laying them out on the canvas, I knew where I have to cut inches off of the sides of the pictures to get them to fit. I did this for the bottom row and one side.

I used Mod Podge to glue the squares down. After the bottom and side rows were down, I filled in the bottom row of photos.


Once I got to the middle I had to do a lot of checking to make sure that the white spaces were lining up from all directions. Jumping ahead and creating a line in the middle was a good reference.

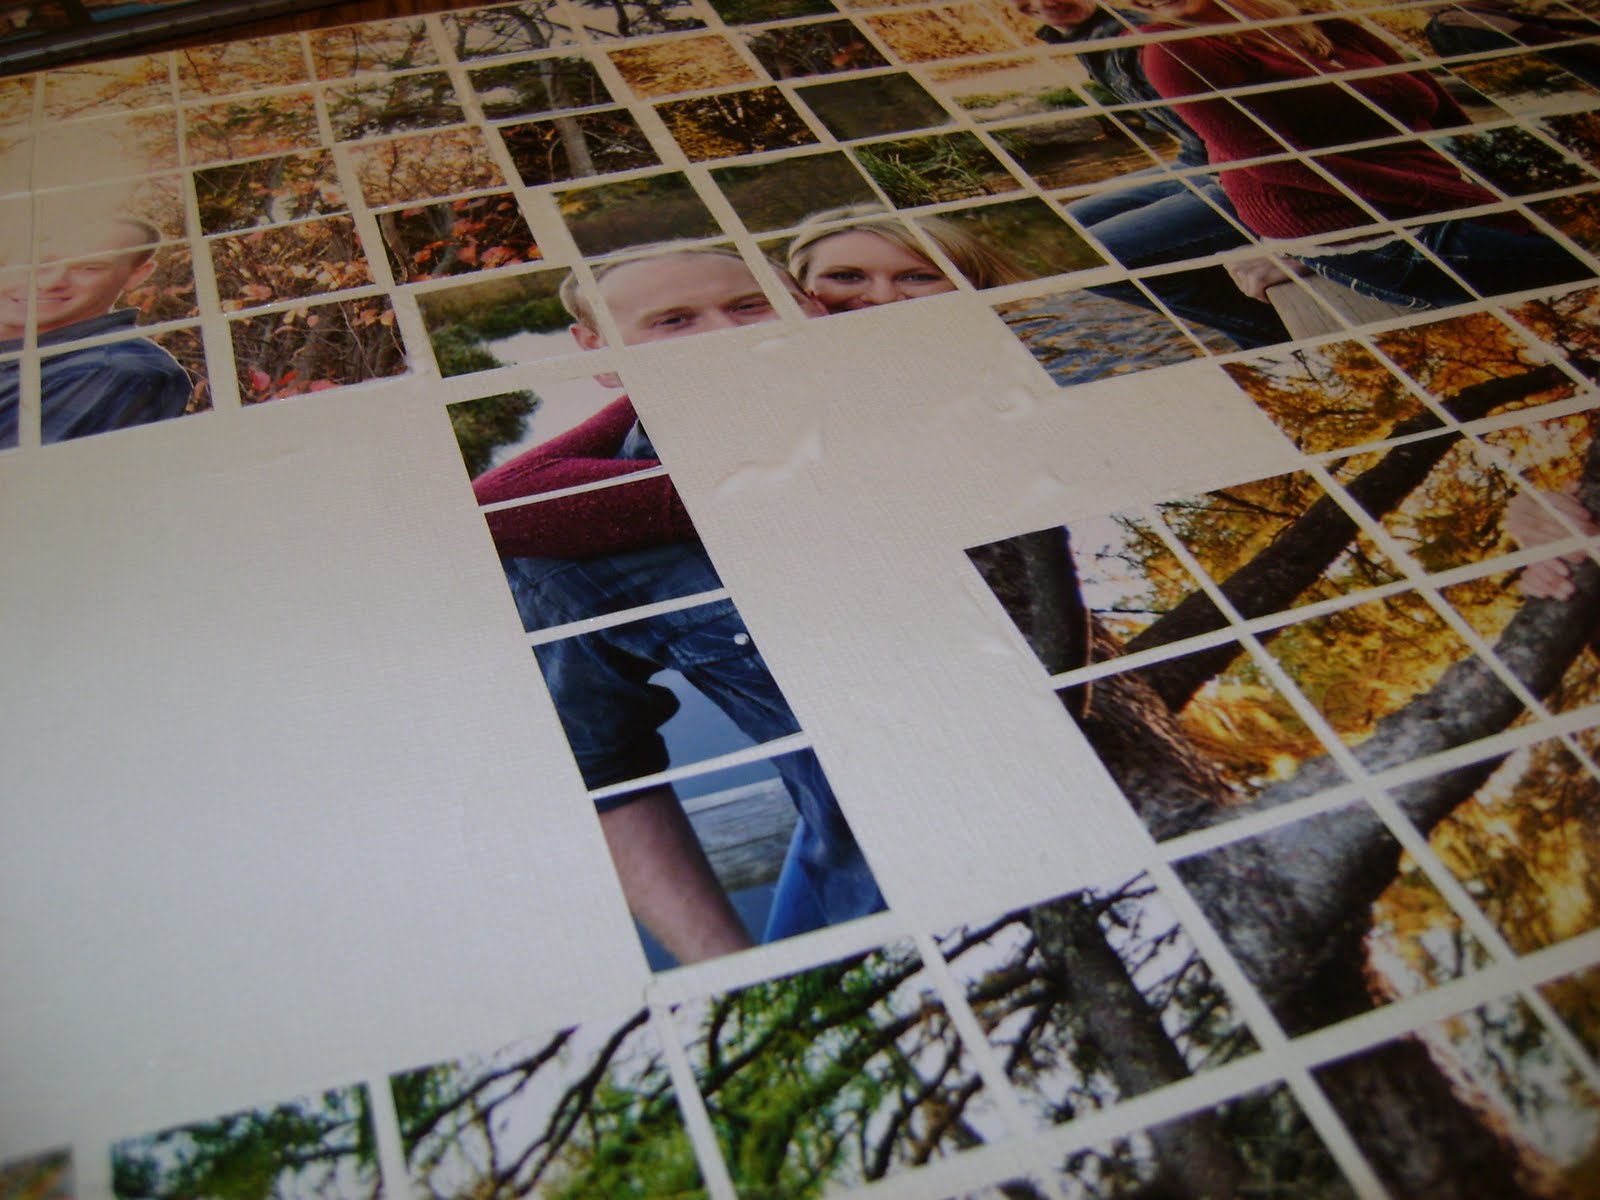
I kept their faces and bodies in tact, but where there was a full square inch of dead space in the background I took it out and replaced it with another photo or a random square of background. This is what created the blended photo look, rather than just square blocks of photos. This close up shoes how photos blended together:

After all of the squares were in place, I put a thin coat of Mod Podge over the top to seal it and give it a finished look.
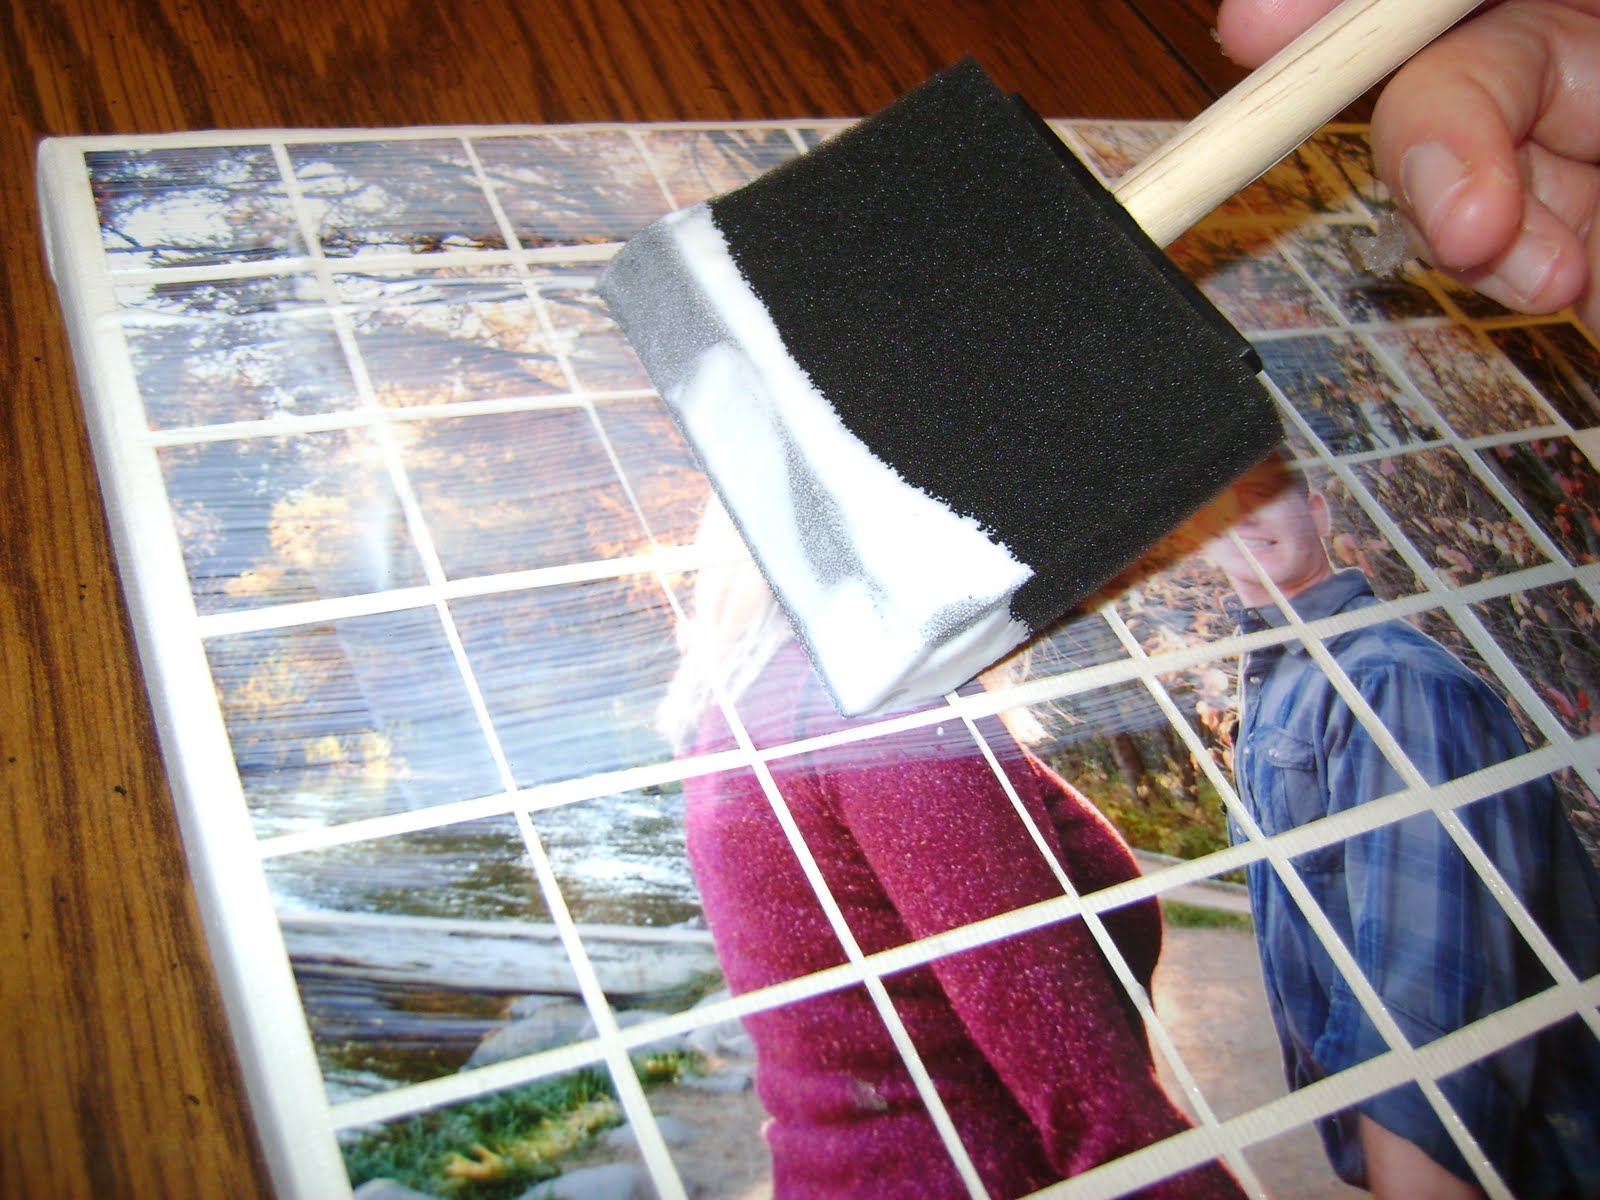
Here it is covered with Mod Podge--Don't worry, it dries clear!

Here is the finished product! It turned out well, and displays about 13 of their engagement photos!


What a great idea. Thanks for sharing!
ReplyDelete