Pages

Tile Coasters

Monday, July 4, 2011


I made a bunch of these tile coasters for Christmas gifts last year. They were so nice to have on hand for gifts that I just made another batch!  I also gave some in the Handmade Gift Exchange.

Start with some basic tile about 3-4"wide.   I got mine at Lowes for $0.34 each.  The color doesn't matter since they'll be covered up, but I do look for some that have a smooth top.

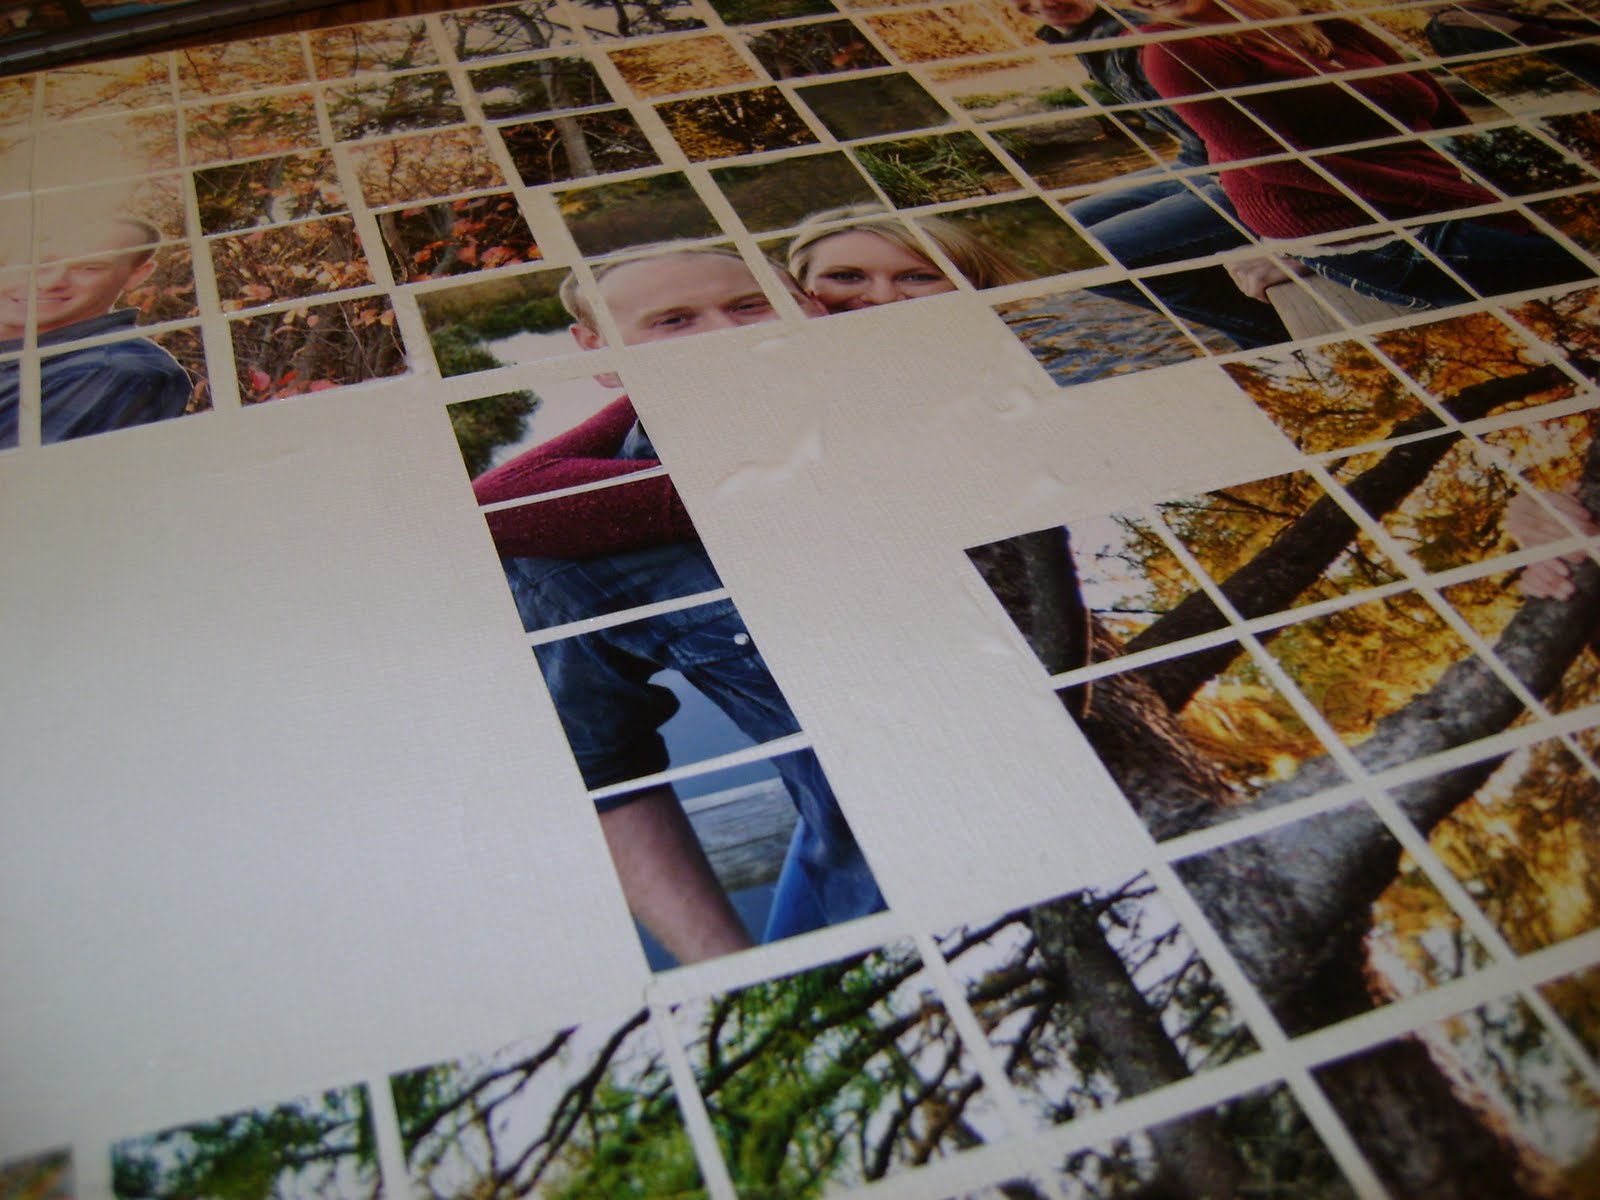
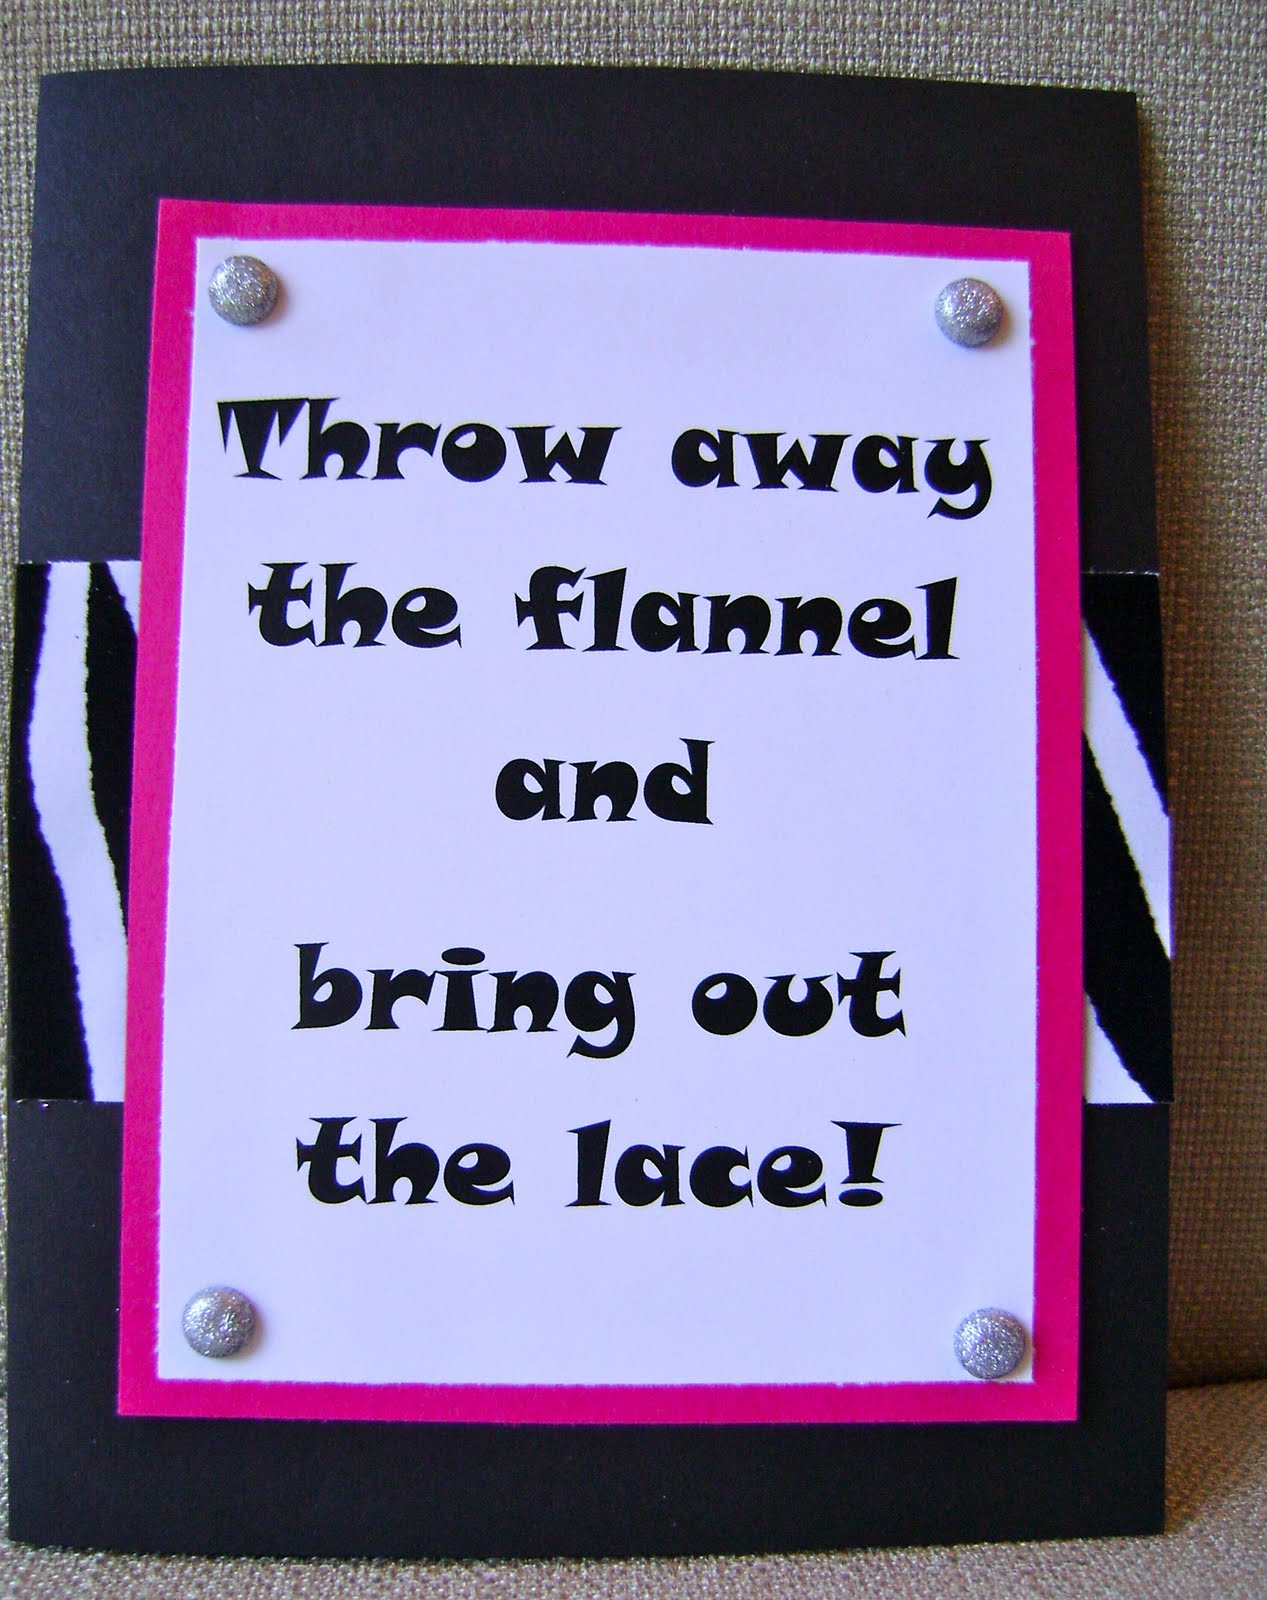
Cut Paper to size to fit the top of the tile.  I use whatever fun scrapbook papers I like and coordinate colors to make a set of coasters.
Apply a thin layer of Mod Podge to the top of the tile.
Set the paper square on top of the wet Mod Podge.
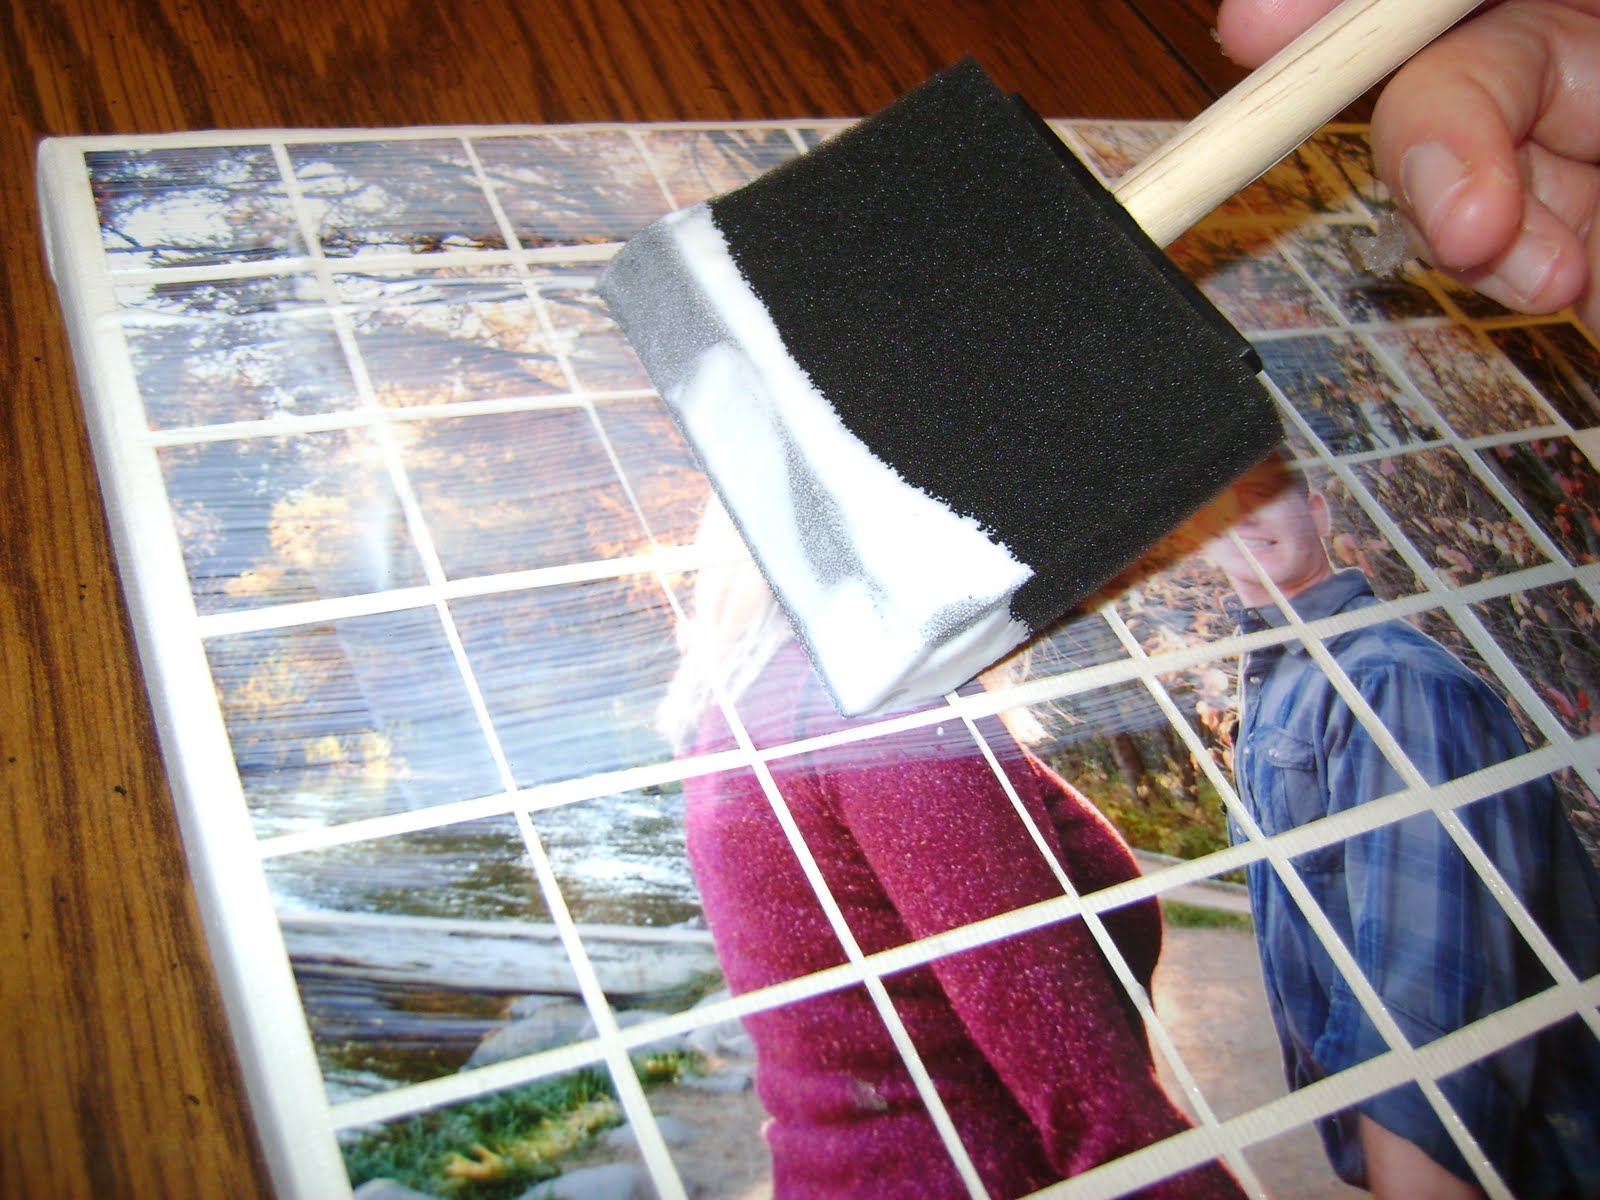
Apply a thin coat of Mod Podge to the top of the paper to seal it to the tile.
Allow time for the Mod Podge to dry.  It goes on white but dries clear.
After the top coat of Mod Podge is dry,  spray them with a clear sealer so the moister from glasses won't make the paper bubble.
Here's the sealer I use:
Cut squares out of foam paper to back the tiles so they won't scratch tables. I cut the squares slightly smaller than the tile.
I use Mod Podge to apply the foam to the backs as well.


Here it is! The finished coaster.

Here are some examples of some coordinating sets that I've made:


Handmade Gift Exchange

Is this wall hanging cool or what?  Laura from Missouri made it for me! She truly is an artist--it's a beautiful piece--the picture doesn't do it justice!  I had trouble deciding where to put it in my house--it looked good in so many places!

 Laura was my partner in the Handmade Gift Exchange at Craftaholics Anonymous.
 We both signed up for the gift exchange on-line which is how we were connected, then we sent each other a home made gift. SO fun!  I love stuff like that!  I think the exchange happens bi-annually if anyone wants to do it next time!

I sent Laura two sets of tile coasters and a homemade card.  I hope she gets some good use out of them!


Mosaic Photo Collage

Sunday, June 26, 2011

I was put in charge of making the photo display for my sister-in-law's bridal shower. I wanted to make them something that could be hung in their house after the shower.  I saw this idea done on a 12x12 scrapbook page, so I thought I could do it on a canvas.

I started by laying out the pictures on an 18x24" canvas. I used 4x6, 5x7, and 8x10 photos.  This was a rough lay out to try to get an idea for what photos would fit and how the colors would blend.
 The photo squares are 1-inch squares.  To figure out the spacing, I cut the bottom inch off of the bottom row of pictures.  After laying them out on the canvas, I knew where I have to cut inches off of the sides of the pictures to get them to fit.  I did this for the bottom row and one side.
 I used Mod Podge to glue the squares down. After the bottom and side rows were down, I filled in the bottom row of photos.


 Once I got to the middle I had to do a lot of checking to make sure that the white spaces were lining up from all directions.  Jumping ahead and creating a line in the middle was a good reference.

 I kept their faces and bodies in tact, but where there was a full square inch of dead space in the background I took it out and replaced it with another photo or a random square of background.  This is what created the blended photo look, rather than just square blocks of photos.  This close up shoes how photos blended together:
After all of the squares were in place, I put a thin coat of Mod Podge over the top to seal it and give it a finished look.
Here it is covered with Mod Podge--Don't worry, it dries clear!
Here is the finished product!  It turned out well, and displays about 13 of their engagement photos!

Engagement Champagne

Sunday, June 19, 2011


When one of our friends gets engaged, I love to give them a bottle of champagne to celebrate!  It's quick, easy, and always gets used!

I personalize the bottle by writing a quick note of congrats right on the bottle using a gold pen.  It looks cool and saves us from buying a card too!


Craft Club: Bachelorette Cards

Monday, June 13, 2011


I have a ton of bachelorette parties to go to this year (4 this month!) So, I needed to make some bachelorette cards at craft club this month!  Using the same color scheme and saying I made 15 in one night!   Thanks again Kathee for hosting us!


Flea Market Centerpiece

Sunday, June 12, 2011


It's been hard to find a substantial centerpiece for our dining room table, since it's almost seven feet long!  Our dining room chandelier has cylinder lights similar to pillar candles, so I try to stay away from centerpieces with candles.

I found this at a flea market with my friend Amy. I thought it would make a cool centerpiece.
I think it's a drawer?!?  It had this cool writing on one end.....
........and these cool numbers stamped on the side.
I found all of the other supplies at Michael's.  Fake plants, moss, floral foam bricks, and a hot glue gun.
Rather than glue the foam down, I just set it in the drawer incase I ever wanted to get it out and use the drawer for something else (a vertical hanging shelf, an outdoor planter, a holder for party favors, program holder at a vintage wedding.........I have lots of ideas!)
Here's a close up of the moss I bought.  I love the bright pink next to the lime green.
I glued the moss to the bricks to hide any gaps between the bricks and the edge of the drawer.
 
After all of the gaps had been filled in and the bricks were fairly well covered, I just stuck the fake plants into the foam bricks.
I used about six different types of fake plants, going for a variety of texture.
Here it is all done! Makes for a great summer centerpiece!

Garage Sale Kit

Sunday, June 5, 2011


For Mother's Day, I got our moms purses.  I planned on filling them up with typical purse things to complete the gift.  Since both my Mom and Mother in law love garage sale shopping, I decided to make them into Garage Sale Kits!

Here's what I included:
Hands Free Purse: For grabbing deals before no one else does


 Garage Sale Listing: The list I included can be found here.

 Energy Bar: Incase you want to shop all day

 Extra Bag: In Case you want to buy a lot

 Coin Purse: Because the best things are always under $1

 Hand Sanitizer: Because you never know who had it before you........


Coffee: For those 8 am Sales 
(A Caribou or Starbucks gift card would also work here)
Blogger Template created by Photographic Elements