Pages

Valentines Day Shadowbox Craft

Sunday, January 31, 2016

Sometimes when we have guests I like to organize a craft for everyone to do to pass the time. When my family visited for Valentine's day last year, we made heart shadowboxes in honor of valentine's day!

Here is my Mom and then pregnant sister-in-law in my craft room working on their shadowboxes. 

I purchased a 3-pack of shadowboxes at Michael's and set out heart punches and a variety of paper so everyone could choose their colors.


Folding the hearts in half makes them 3-D when in the shadowbox.


Here are the finished products on display.  It was a fun 'girl's day in'!


DIY Valentine's Day Chocolate Buffet

Sunday, January 24, 2016

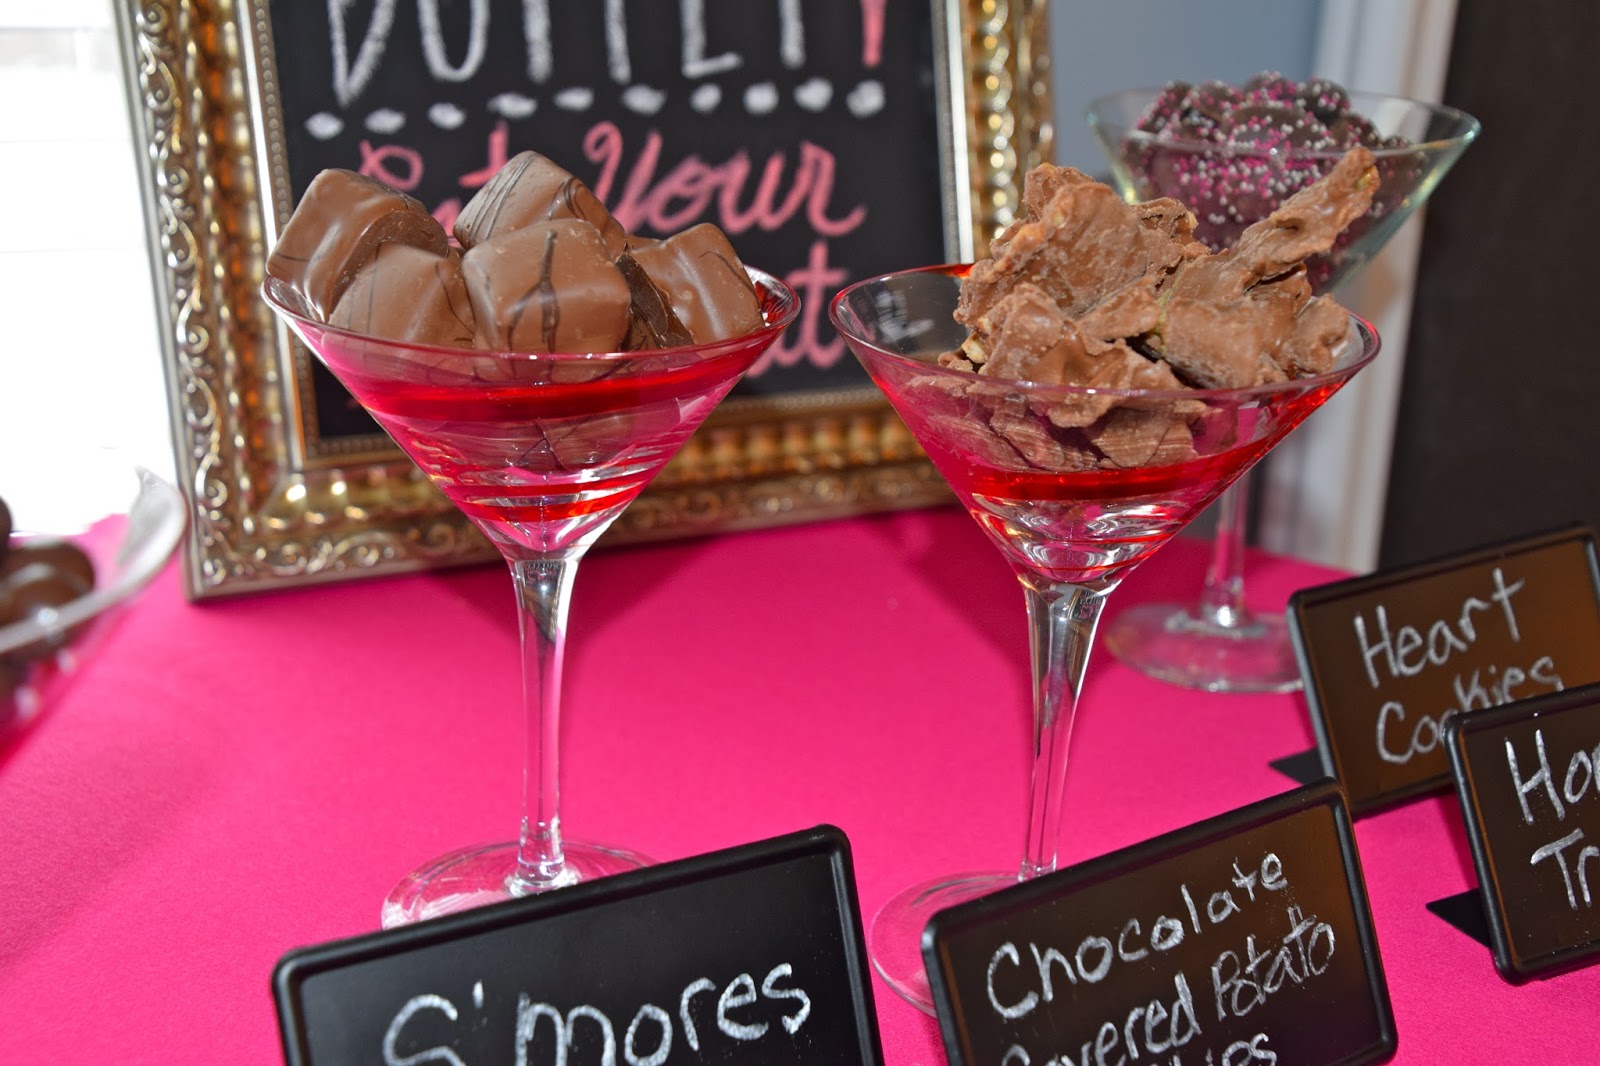
Last year my family visited for Valentine's Day so we set-up a Chocolate buffet! It was so easy to do, I just bought some fun chocolates (mostly from Trader Joe's) and set them out in martini glasses. 

 A chocolate buffet would also be fun for a movie viewing of 'Chocolat' or 'Willy Wonka and the Chocolate Factory'. So many excuses to eat more chocolate!


Wine Tags

Sunday, January 10, 2016

We're always trying new wines and taking recommendations, but it's not always easy to remember why we bought a bottle or what we're suppose to serve it with. After labeling some bottles with post-its, I decided to make actual wine labels to keep myself organized and add a little flare to our wine rack.

The tags are easy and inexpensive to make.  All you need is black 'Chalkboard' paper tags, a white gel pen, and rubber bands.

Use the white gel pen to write whatever you like, then loop a rubber band through so they can easily slide on the neck of the bottle.  You can write on both sides of the tag to have more options to label the bottles.

Here is how the tags look in the wine rack in our new cupboards; subtle yet informative.

Most bottles are labeled with the food they should be paired with, but I labeled some 'Friday Night' or 'Tuesday Night' which is my code for 'cheap bottles' and 'nice bottles'.


When I decorate I always try to add small details that personalize our home and set it apart.  I think that these wine tags have been a great way to add some personalization to our new kitchen!

Tea Tag Card

Sunday, January 3, 2016

Am I the only person who saves every tea tag with a fun saying? Or am I like everyone else who has no idea what to do with them?

It's either one or the other because I couldn't find any ideas to work through the jar of tea tags that were collecting in my craft room. It was to the point where I needed them out of my craft room but wasn't able to throw them out, so I put them all on a card.  Yes, it's a bit overkill, but I thought it was neat having so many inspirational sayings on one card. 

Merry Christmas!

Friday, December 25, 2015


Red and Green Christmas Appetizers

Sunday, December 6, 2015


I don't think you can ever go too over the top, so if you're going to set out a spread of Christmas appetizers why not make the spread red and green themed?
Here are a few that look easy and delicious:
1. Sparkling Cranberry Brie Bites
2.Spinach Roulade With Smoked Salmon
3. Marinated Cheese
4. Christmas Roll-ups

DIY Vacation Ornament

Sunday, November 29, 2015

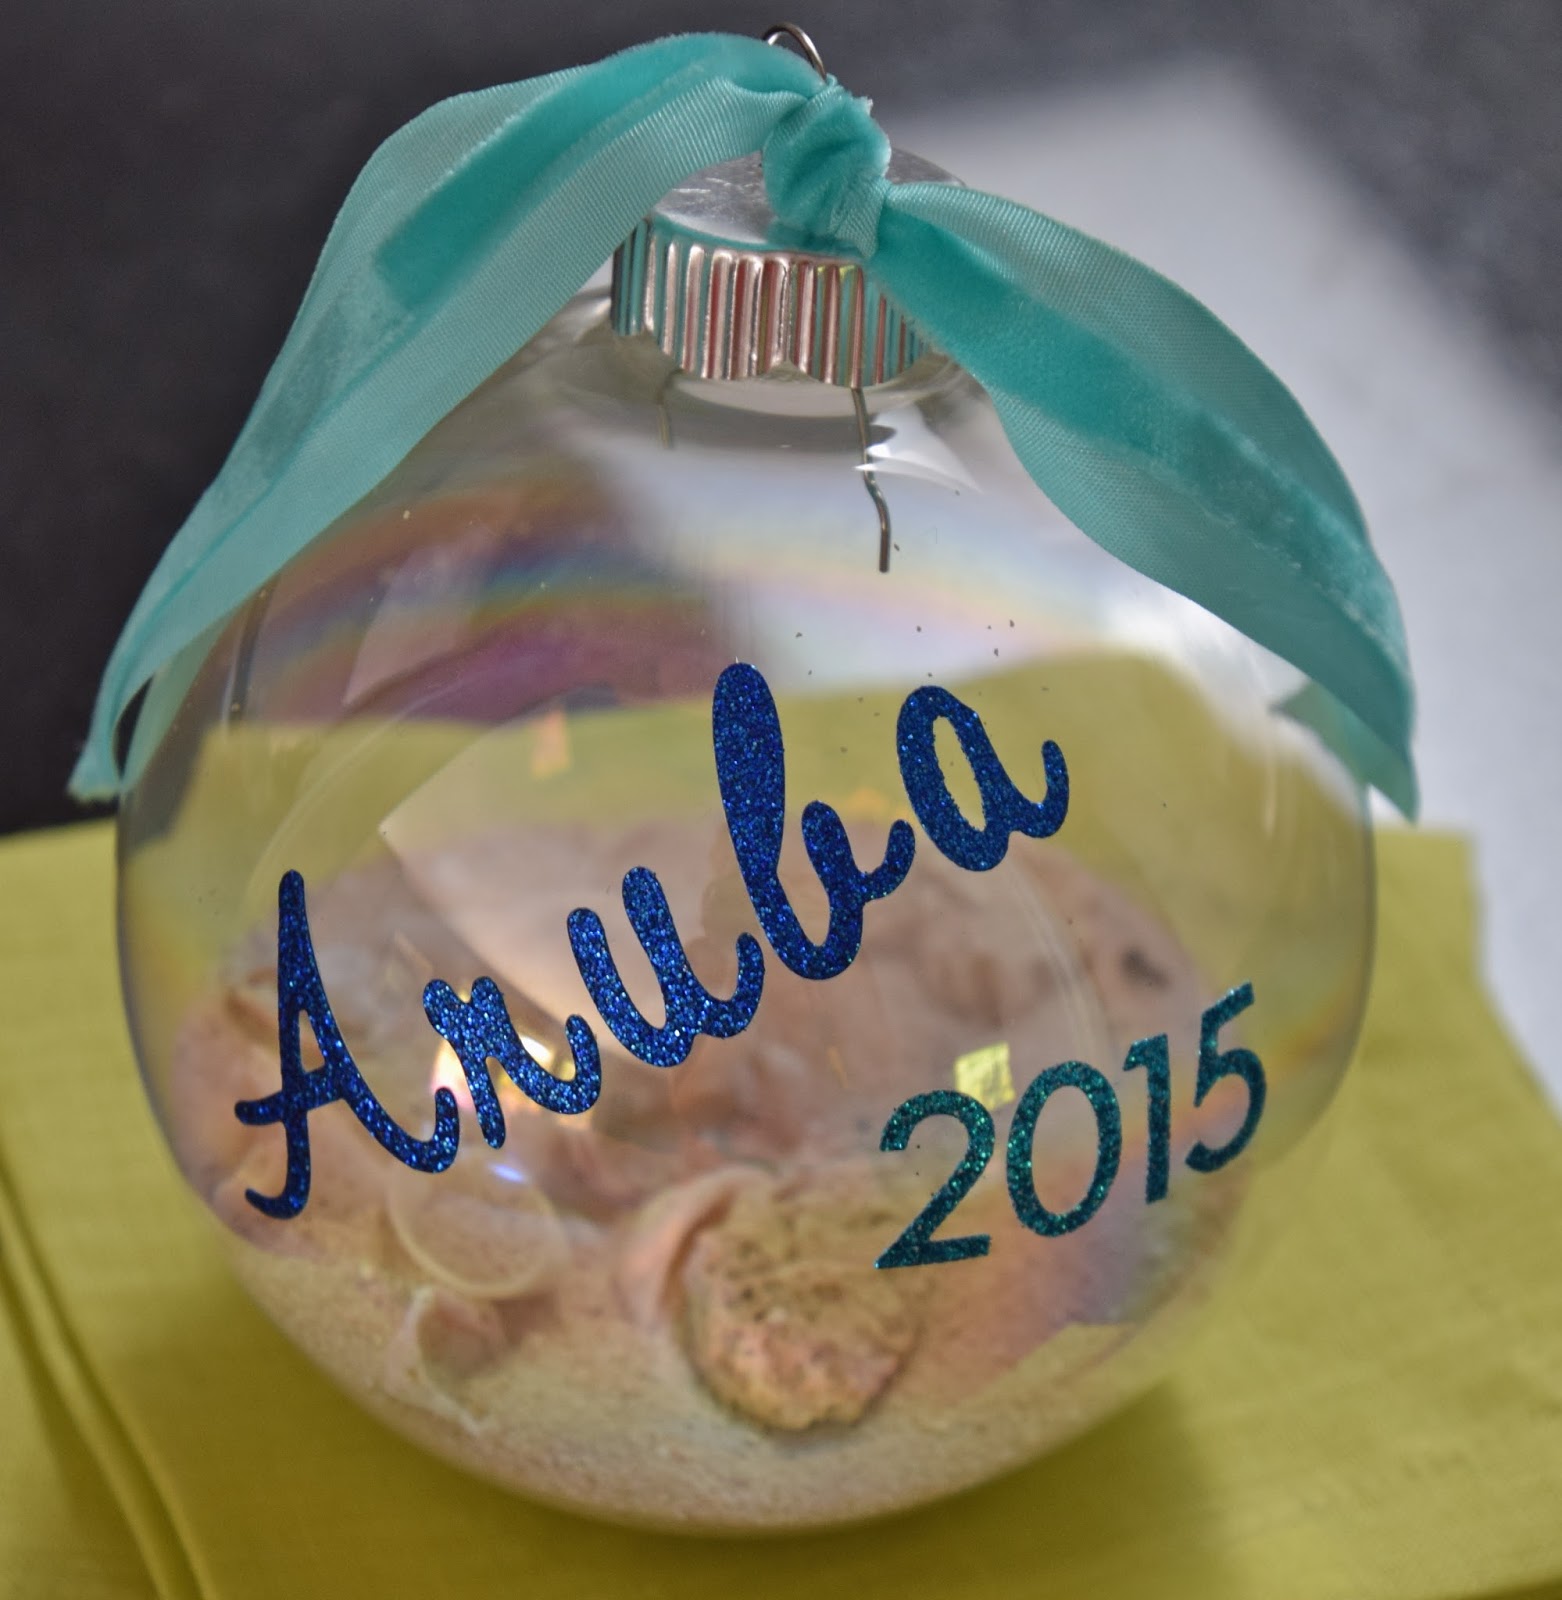
Since we got married we've always had a snowflake themed Christmas tree to go with our holiday decor.  While collecting snowflake ornaments I've also collected meaningful Christmas ornaments, including ones from our vacations.  When we were in Aruba last year I couldn't find any ornaments I liked so I decided to bring back some things to make my own.

While walking on the beach we collected a bag of sand and some shells.  When we were in town I bought a small turtle that said 'ARUBA' to put in the ornament as well. When we got home I picked-up some glass ornaments, stickers, and ribbon to make my own ornament.

I used a funnel to get the sand inside of the ornament and dropped in some shells.


Using scrap booking letter stickers I wrote 'Aruba 2015' on the outside of the ornament.  Tape worked well as a guideline.

I kept the box the glass ornament came in for storage, and to hold the extra glass ornaments until I get back from more trips!


DIY Vacation Souvenir for the Home

Sunday, November 22, 2015

We're not really 'Souvenir people', and judging by all the sombreros and coconuts at Goodwill I don't think most people are. Although we forego the typical tourist junk, I start every vacation by saying, "It would be neat if we could find something cool for the house", and every trip I'm disappointed with what we find.
 A couple of years ago we were in Cabo San Lucas where I was on the hunt for otomi napkins.  I was able to get a great deal on one that went great with our decor, but there was only one. I bought it anyway, and when we got home I turned the lone napkin into an accent pillow for our living room.  I love that is's a reminder of our vacation without screaming souvenir. Now when we go on vacation instead of looking for a perfect piece that doesn't exist, I look for things that I can use in less obvious ways to remember out travels.

How to Level Furniture Overlapping a Rug

Sunday, November 15, 2015

 We recently purchased a larger area rug for our living room. I love that it fills up more of the space and defines the sitting area, but most of our furniture now sits half-on/half-off the rug. Since the rug is over 1" thick it created a real issue ( think of red wine on an unbalanced end table!)

After failed attempts to re-arrange the furniture, I turned to these felt furniture pads to extend legs that fell outside of the rug.  I had purchased a huge package of them at Costco when we changed to dark floors to avoid scratches.

I love using the felt pads because you can keep stacking them to get the height needed.  In my case, every foot outside the rug needed two pads.

Since our floors and dark and the pads were light, I colored them with black permanent marker so they wouldn't show.

DIY Wood-Burned Cutting Board Gift

Sunday, November 8, 2015

My parents recently remodeled their house so I thought it would be fun to burn a picture of their new house on a cutting board.  I figured it would be fairly easy since a house is straight lines.  It turned out so well that I made one for myself and my sister-in-law!

I started with an inexpensive cutting board from Home Goods.

The rest of the process is similar to the deck step I wood burned a few years ago. First, take a photo of the house and use powerpoint to make it the desired size and print.

Rub the back of the paper with oil pastels to turn it into 'tracing paper'.

Place the photo where you like on the cutting board and use tape to secure in place.

Use a pen to trace the outline of the house.

The oil pastels will transfer to the board on the lines traced. Use various wood burning tips to fill in the lines, and that's it!

Here is a close-up of the finished product. It was so easy to make a such a custom piece.  This would be a great gift for a house warming or any occasion!

Blogger Template created by Photographic Elements