Pages

'Merry Christmas' Breakfast Pastry

Sunday, December 21, 2014


This pastry came about when I sent my husband to get groceries to make a Christmas Breakfast Pastry Ring to bring to our friends' annual Christmas brunch.  The pastry ring uses crescent roll dough that comes in triangles which are put together to form a circle for the ring.  He came back with Crescent Seamless Dough Sheets, which is actually really great for most crescent recipes I make but not when the triangles are actually helpful.  

Rather than trying to mess with cutting triangles or a large circle, I decided to change it up to make things easier, got out my cookie cutter set, and the 'Merry Christmas' breakfast pastry was born.

I baked this at a friends' house so I don't have a photo of it baked with the glaze, but it looked even better after baking!


'Merry Christmas' Breakfast Pastry
Pastry:
2 packages refrigerated Crescent Seamless Dough Sheets
1 8oz.  package cream cheese softened
1/4 cup powdered sugar
1 egg
1/2 teaspoon vanilla or almond extract
1  can  pie filling ( Blueberry used here,  Strawberry is also great)

Glaze:
1/2 cup powdered sugar
2 to 3 teaspoons milk

Heat oven to 350 degrees F

For filling, combine cream cheese, icing sugar, egg and vanilla extract.  Unroll one crescent dough onto baking sheet. Spread cream cheese mixture over dough to within 1/2 inch of the edge; top with pie filling. Use cookie cutters to cut 'MERRY CHRISTMAS' letters out of second crescent sheet.  Arrange letters on top of pie filling layer.

Bake 25 to 30 minutes or until golden brown.

When cool, mix powdered sugar and milk until smooth to create the glaze: drizzle over pastry.  Cut into slices and serve.

Winter Wonderland White Christmas Decor

Saturday, December 20, 2014

Here's a look into our main living room 'Winter Wonderland White Christmas' decor this year!

This year I wanted our white tree to be decorated entirely with snowflake ornaments.  I started getting them on clearance after Christmas last year, and throughout the year collected them as gifts and from thrift stores and gift shops.  When I finally pulled them out to decorate the tree, I had collected 100+ unique snowflake ornaments. It's so fun to look at all the different variations!

The tree takes on an entirely different look at night since the light can't shine through the solid flakes.  It's fun to see it change depending on the lighting.

For gift wrap, I printed large labels using some snowflake clip-art to add interest to some packages under our tree

On others, I made personalized tags that double as ornaments using inexpensive snowflake ornaments (the kind that come in packs of 10 or 12 for about $3) and a tag maker

Since the tree was all snowflakes this year, I found this ornament stand at a thrift store for our family ornaments

 I finally treated myself to a fun snowflake pillow from Pier1


After seeing this saying on Pinterest I had to incorporate it into our snowflake decor.  Using a $10 goodwill frame, white spray paint, white poster paper, inexpensive snowflake ornament, and scrapbook letters it was easy and inexpensive to make!

A tip I learned from this project: Using sticky chipboard letters is so much easier than basic sticker letters for projects like this, since they can 'sit' on a guide ruler always go on straight!

 
'I'm dreaming of a white Christmas, but if the white runs out I'll drink the red' was another Pinterest saying that I had to use in our bar cart area.  We made the chalkboard using a Goodwill frame and paint.


I made this snowflake tree using objects I had around the house including a garage sale vase, lighted twig branches, and inexpensive snowflake ornaments.  Since it branches out it has a large impact and adds light to our bar cart.

Here it is in the dark, shiny and sparkly!

Christmas Card Display Strip, Take Two

Sunday, December 14, 2014

My Christmas Card Display Strip post from 2011 has been one of my most popular posts and Pinterest Pins!  We are still using it years later.  Here's an photo of it last year full with our 2013 cards!

For instructions on how to make one for yourself, click here.

Healthy Red and Green Christmas Soup

Sunday, December 7, 2014

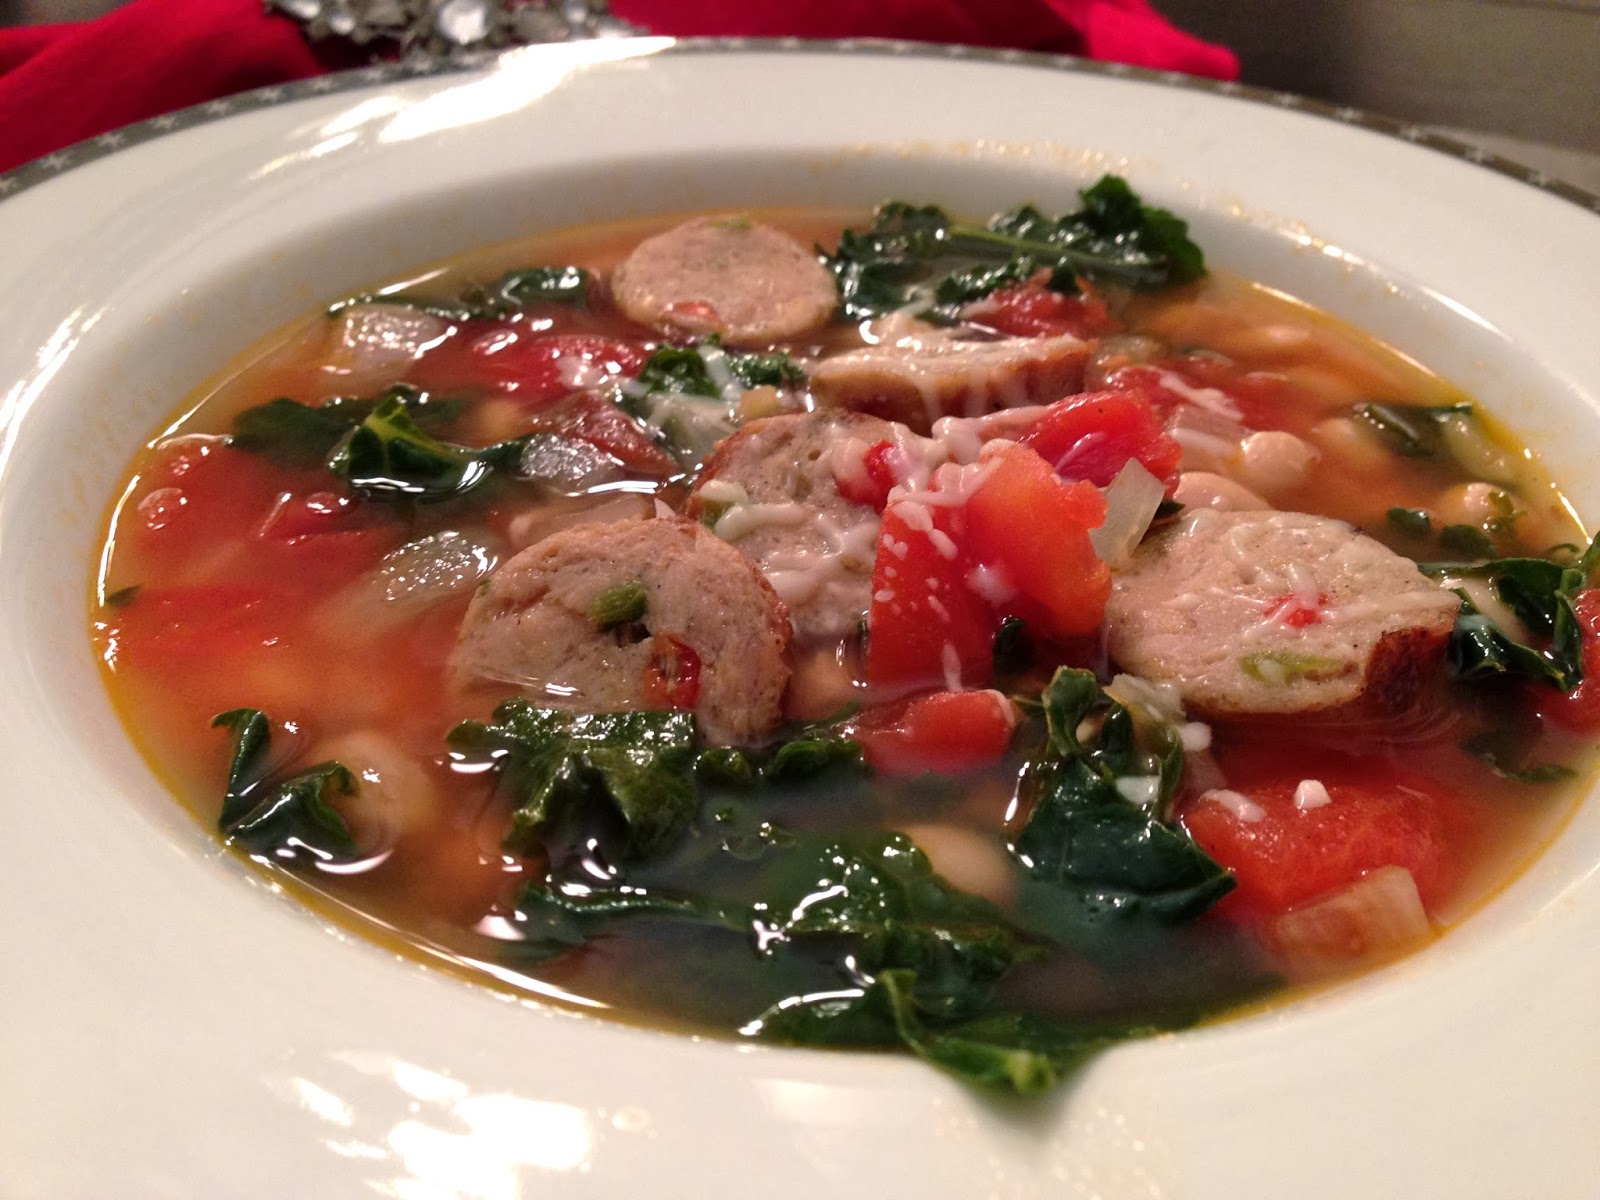
This soup is great to make at Christmas time not only because it's red and green, but because it's a nice light and healthy meal that's refreshing after so many heavy dishes!  The combination of white beans, kale, tomatoes, and sausage not only looks great but provides a great combo of flavors worthy of serving to any house guests. It's quick and easy to make too!

 Mmmm!

White Bean Soup with Sausage and Kale-a.k.a. 'Christmas Soup'
Makes: 5 servings
Start to Finish: 30 mins

Ingredients:
12 ounces fresh mild Italian sausage links, sliced 1/2 inch thick
1/4 cup water
1 medium onion, chopped (1/2 cup)
1 teaspoon bottled minced garlic
1 tablespoon olive oil
2   15 ounce can white kidney (cannellini) beans, rinsed and drained
2   14 ounce can reduced-sodium chicken broth
1   14 1/2 ounce can diced tomatoes with basil, oregano and garlic, undrained
4    cups coarsely chopped kale or spinach
Ground pepper

Directions:
Combine sliced sausage and water in a large skillet. Bring to boiling; reduce heat. Simmer, covered, about 10 minutes or until sausage is no longer pink. Uncover and cook about 5 minutes more or until sausage is browned, stirring frequently. Remove sausage with a slotted spoon; set aside.
Meanwhile, cook onion and garlic in hot oil in a large saucepan about 5 minutes or until onion is tender. Stir in beans, broth, and undrained tomatoes. Cover and bring to boiling; reduce heat. Simmer, covered, for 5 minutes.
Stir in cooked sausage and kale or spinach. Simmer, uncovered, about 3 minutes more or until kale or spinach is
tender. Season to taste with pepper. Makes 5 servings.


Box of DIY Christmas Gifts for Girls

Sunday, November 30, 2014


I love making crafts and gifts, so it's always fun for me to give the girls a little 'something extra' homemade at Christmas time. This year I put together boxes of small personalized homemade goodies.  Everything was not only easy and inexpensive to make, but easy to taylor to each individual. 
Here's what I included:


Christmas Simmer Pot. Borrowing the instructions from here and a food dehydrator I easily made about 20 of these for simple gifts!

I packaged everything in my leftover Birchboxes, a great way to use them since they've been piling-up in my closet since sending Sunshine Boxes!


Tags for DIY Jewelry

Wednesday, November 26, 2014

When I make homemade gifts, I like to create homemade 'packaging' to go with it.  This not only makes the item look like it came from a high-end boutique, but it lets the recipient know that you made it just for them.  In addition, for jewelry like the Scrabble Tile Pendant necklaces I just made, it keeps them from getting missed in a larger gift package.  
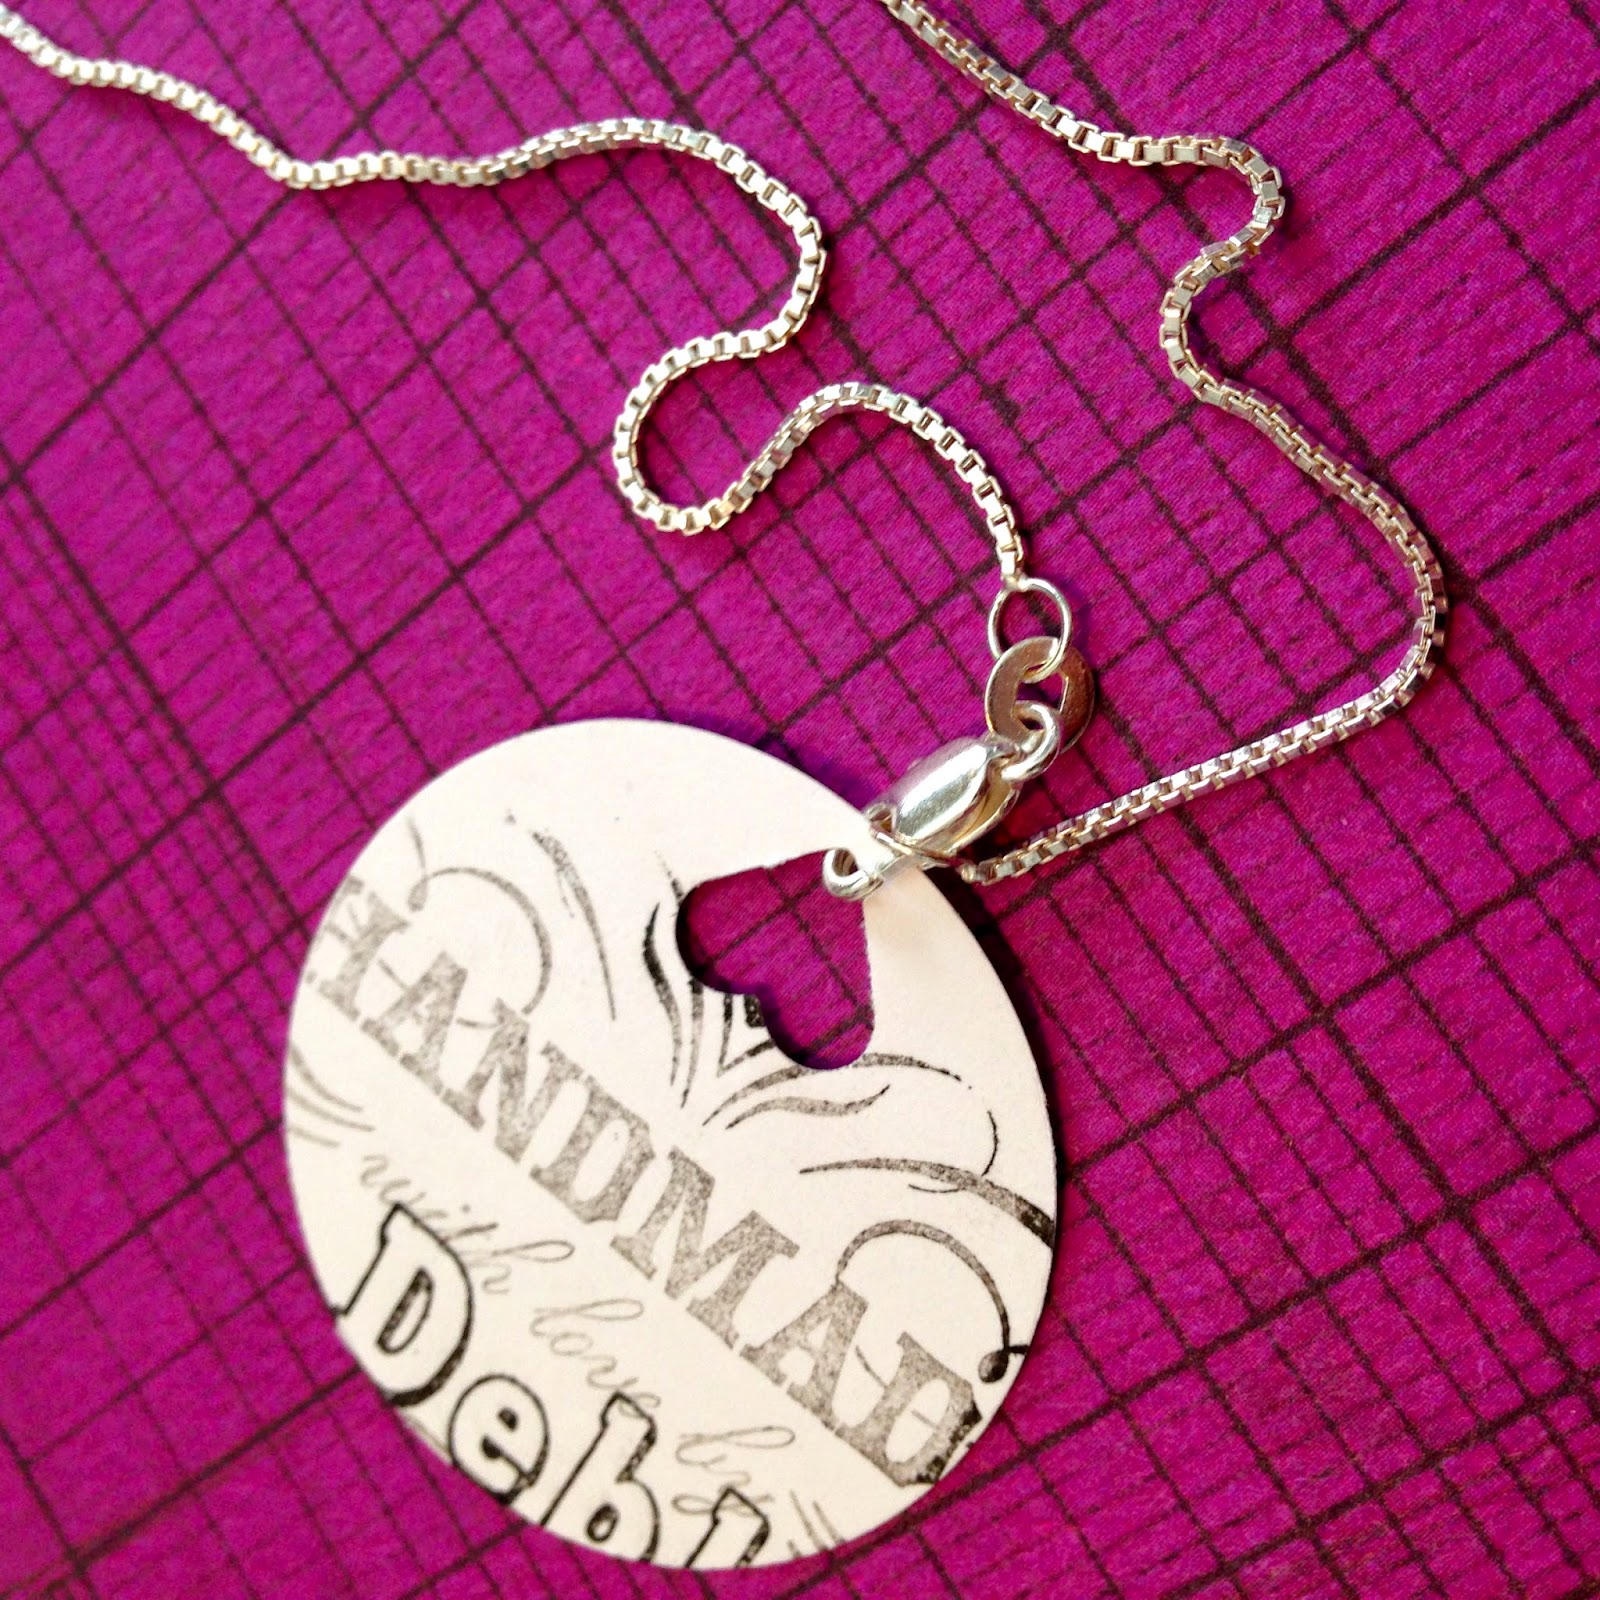
Here's how I made some simple labels for the necklaces:

The supplies are simple: 
-large and small punch 
-card stock
-rubber stamps

I used the large circle punch to create the tag.

Using a small heart, I punched a hole it in the tag for the necklace to go through. I punched the heart close to the edge so it would fit in the clasp and not slide around on the necklace.

After lying the tag on a piece of scrap paper, I stamped the tag. I used a 'Handmade with love by' stamp, but any image would work.

I also stamped my name so they would know it was made by me and not by a high-end boutique.  If you don't have a stamp with your name you could simply write it or scribble your initials.

I love that he stamped extend past the tag creating a 'less perfect' look.

Here is the final tag on the clasp of a necklace!

I used a similar concept to make tags for my Memory Wire Bracelets.  The bracelet just slides through a hole in the card an the beads hold it in place.

Scrabble Letter Necklace Pendants

Tuesday, November 25, 2014

After seeing Scrabble Tile Necklaces at many gift shops, I wanted to try making some myself. Since I had leftover Scrabble pieces from my Scrabble Wall Art project and vintage atlas maps left over from my We Met, We Married, We Lived project, I knew I could easily make some cool, personalized pendants for next to nothing.

Start by brushing some Mod Podge to the back of a Scrabble letter (I chose to use the first initial of the person I was giving it to). This is just to glue the paper/map to the Scrabble piece, so it doesn't matter if its glossy or matte.

While the Mod Podge is wet, place the letter on the back side of the map (do not cut to size yet).  You may want to hold it up to a window while you do this so you can see what area of the map will show on your pendant.

I found it was easiest to trim the paper after it was glued to the Scrabble tile using a rotary cutter and a rubber mat.

After trimming the paper, sand the edges to the paper is flush with the Scrabble tile.

I used Mod Podge 'Dimensional Magic' to seal the maps and create that 'glassed over' look.

Do not shake the bottle as it will create bubbles that will dry into the pendant. Apply to the edges first, being careful to seal the edge of the paper to the tile without it dripping down the side.

When the tile is completely covered, it will appear milky as shown but will dry clear.

When the first coat has dried, you may need to glue down any corners that curled up as shown above.  Mod Podge and a Q-tip work well for this.

Apply a second coat the same way as the first.

When the Dimensional Magic has dried, use superglue to apply a flat bail to the back of the pendant.  The bails can be found at Michael's.  Use any chain you like, and the necklace is done!

Here are a few that I made using maps and collegiate scrap booking paper.  Photos would also work great!

Memory Wire Bracelets

Monday, November 24, 2014

When the girls at craft club were making memory wire bracelets, I knew I had to make some too! They are so simple and easy to make, a great craft to do while watching a movie. Since any color beads can be used they're great to make in the colors of your team or school.  This would also be a great craft to do with a group of friends. Simply supply memory wire and a variety of beads and see what combinations everyone comes up with!

The wire used is called memory wire, which holds its round, coiled shape making them perfect for bracelets. Simply cut to the desired length depending on how many times you want them to wrap around the wrist, and string with any beads that will fit the wire.

To finish, use a pliers to make a loop that will keep the beads from falling off.

On some bracelets I added a charm to the finishing loop for some extra 'bling'.

Here are a few bracelets that I made.  These make excellent stocking stuffers and would be a great post-Thanksgiving dinner craft.

Blogger Template created by Photographic Elements