Pages

Purple & Lime Green Bridal Shower

Sunday, November 24, 2013

Here are some pics from the Bridal shower I hosted for my now sister-in-law Amy.  Amy is a 'Purple Person' so it was fun to work off of a color to come up with a purple and lime green bridal shower!
Purple linens and place mats, with notecards for guests to write Amy a note to open on a day leading up to the wedding.

'Love is Sweet' purple and green candy buffet for favors.  Amy likes penguins, so we had bride and groom penguin cake toppers with a 'Mr & Mrs' banner.

Kids' activity bags, and prize bags for Amy for answering a question about her fiance correctly.

The kids' goodie bags included a mini vail, ring pop, snacks incase they didn't like our adult food, and an 'Amy's Wedding' themed activity book.

Frogs, Snails, and Puppy Dog Tails Baby Shower

Sunday, November 17, 2013

Here are some looong overdue pics from my nephew's baby shower that I hosted with my aunt.  The theme we chose was 'Frogs, Snails, and Puppy  Dog Tails, that's what little boys are made of'.


This was the first time I bought a party pack from Etsy, and it was so easy! All we had to do was print and assemble.  I would recommend doing this for any themed party.  We bought our pack (shown above) from 3 Little Monkeys Studio.  I loved the colors and design, so when I saw it, it was a done deal!

Games, decor, and favors.
The food including labels, picks, and cones from the party pack, and a fruit bowl baby carriage made by my mom!


'Fan Necklaces'-College Football Kids Craft

Friday, November 15, 2013

This is another easy kids' craft for game day. Use string and pony beads to make a necklace or bracelet in your team colors.

Monster Cookies

Sunday, November 10, 2013


This recipe for Monster Cookies is one of my favorite cookie recipes.  I wanted to make them for tailgating since they're so hearty and everyone loves them.  I also thought it would be a fun way to incorporate our team colors into the food with Maroon and Gold M&M's!

I was planning on going to the party store to overpay for Maroon and Gold M&M's, but thankfully I came across these Fall M&M's at Target.
 
I just had to sort out the Maroon and Gold ones and we were set!

Monster Cookies
3 eggs
1 c. brown sugar
1 c. white sugar
1 tsp. vanilla
1 tsp. light corn syrup
1/2 c. butter, room temperature
1 1/2 c. peanut butter
4 1/2 c. oatmeal
1/2 c. flour
2 tsp. baking soda
1 c. chocolate chips
1 c. M&Ms
Preheat oven to 350 degrees. In a mixing bowl, combine the eggs and then sugars, vanilla, corn syrup, butter, and peanut butter. In a separate bowl, combine oatmeal, flour, and baking soda. Combine the dry ingredients with the peanut butter mixture. Stir in chocolate chips and M&Ms. Drop desired sized spoonfuls on to a cookie sheet. Bake about 12minutes.

These Freeze well too!

'Cheer Sticks' College Football Kids Craft

Sunday, November 3, 2013

We made these cheer sticks with our friends' kids to wave and cheer on the Gophers a couple of weeks ago! It was hard to find College football crafts, so I wanted to share!

Supplies Needed:
2-Small Paper Plates, themed if possible
Ribbon, cut into pieces about 8-12" Long
Paint Stick
Tape
Football Embellishments if desired

Here are the Gopher dessert plates I used, which came in a party pack from Costco

Maroon and Gold ribbon, and some special Gopher ribbon I found at Michael's!

 I thought these felt football embellishments would also be fun, and I knew I'd use the other sports for other projects.

To make, tape the ribbons to the backside of a plate. Tape the paint stick to the back of the plate, then another plate on top! Here is a side view to see how it's held together:

Spooky Dinner

Wednesday, October 30, 2013


Tonight we hosted our first annual Spooky Dinner which was a blast!  We chose the night before Halloween so everyone could make it and still be home to see their trick-or-treaters.  Instead of a costume party, we thought a dinner party would be fun and asked guests to wear something black.

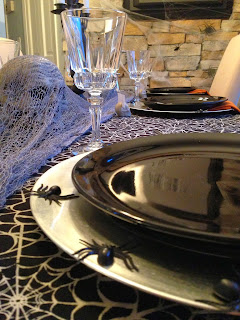
The theme for the table was spiders and skulls, which looked great with candlelight.  I took these photos with the lights on just to show the details!
I chose burnt orange napkins from World Market because 1.) I could use them for Thanksgiving 2.) I thought white would stain 3.) I thought black would fade in the wash.

The crystal goblets are from Goodwill for $0.99 each. I thought they had a 'haunted mansion' feel.  The black plates are also from Goodwill and were $0.99 each.  I needed round plates so I could use silver chargers to hold the creepy plastic spiders!  

I used plastic skulls to create place card holders and printed everyone's names using the font 'Cracked'.

The decor included skeletons hiding throughout the house, a DVD of spooky scenes and sounds, and lots of ripped netting and spider webs!

The menu consisted of regular food that we could easily make more spooky with some changes in color and a spooky name:
I found these halloween tortilla chips at Aldi and 'Skeleton Bones' at World Market that made planning the appetizers easy!

Just some of the spooky things we ate for dinner:


Here is the dining table with lights off--Spooky!

Happy Halloween!!

College Tailgating Water

Sunday, October 20, 2013

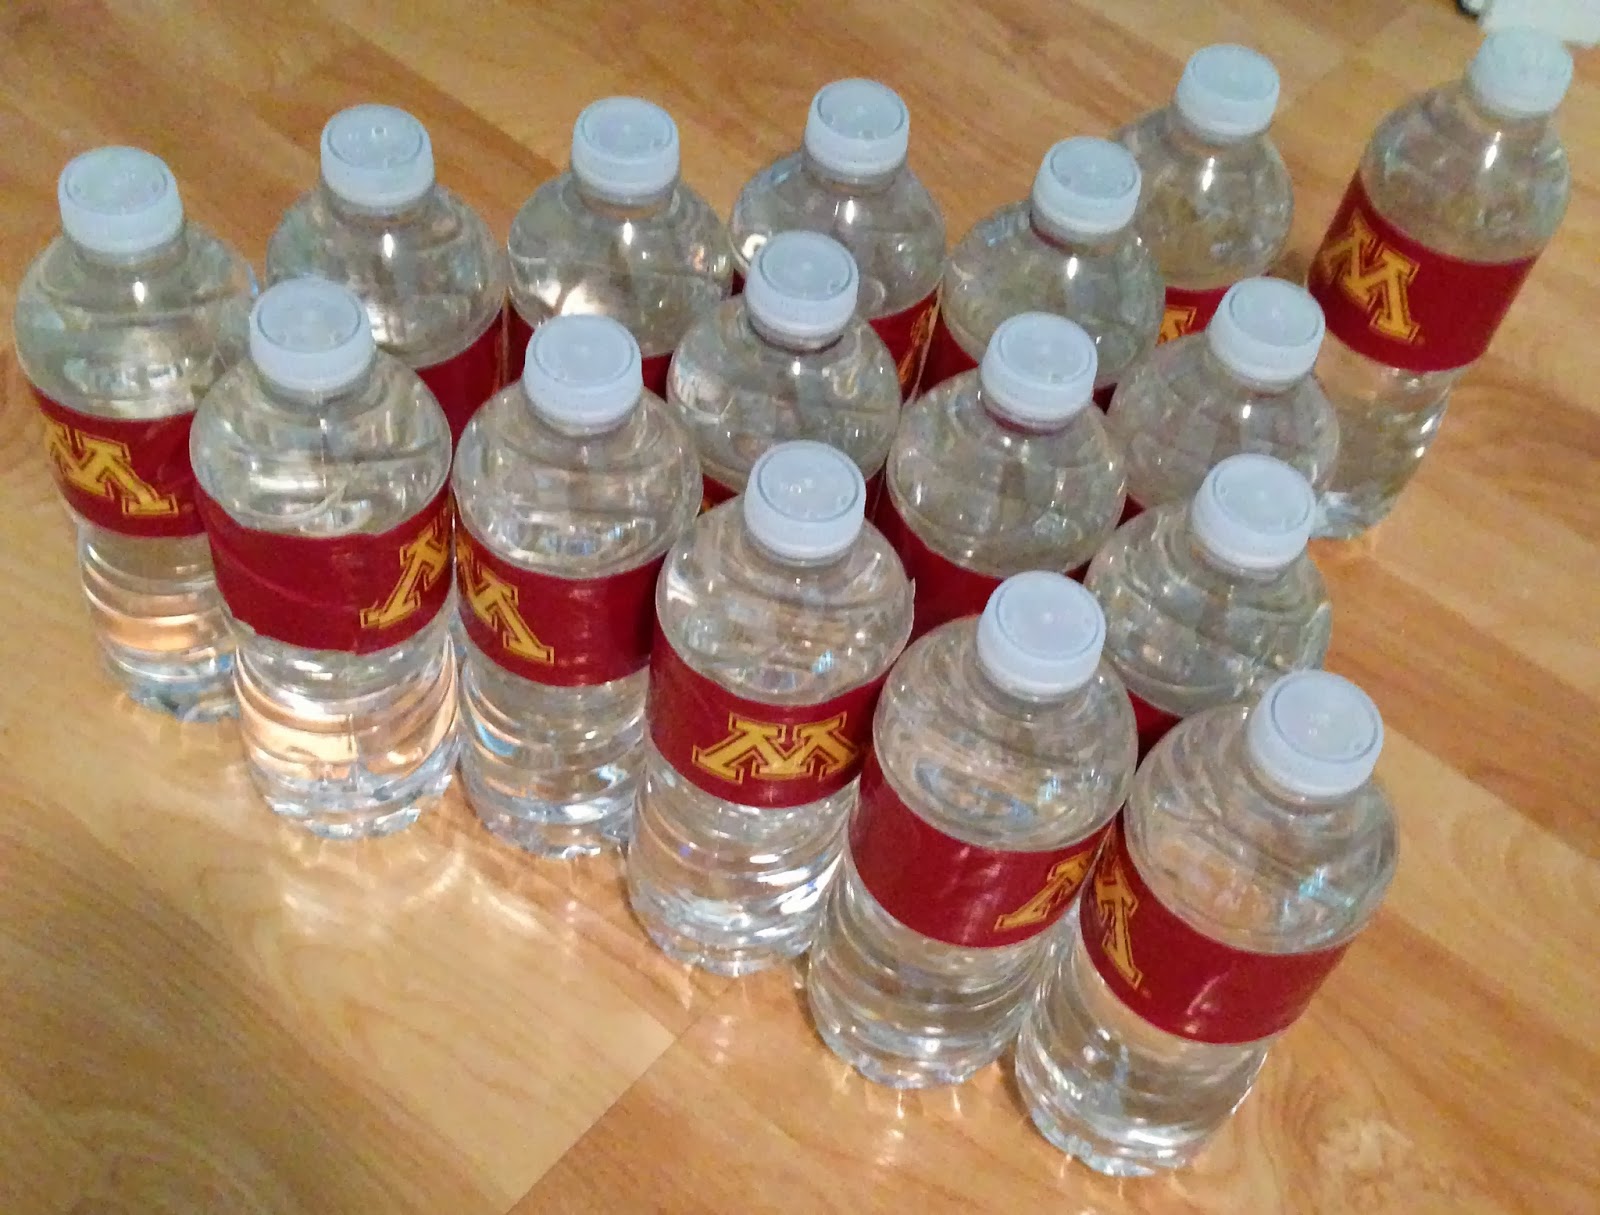
I've seen this being done lately for parties, so I thought why not do it for tailgating? Duct tape comes in a lot of fun designs now, including College logos!

To make the bottles, I just removed the paper label that came on the bottle and places a piece of duct table over the bottle where the label had been.  It's that easy!  I'm sure you could cover anything you could think of...juice boxes, whatever!

Wrapping Paper Organization

Sunday, October 13, 2013

It feels so good to have my wrapping paper organized! I bought a bunch on sale, but it took up so much room in my craft closet that I almost wish I didn't! 

The containers are plastic bag organizers from IKEA, as seen here. They are only $1.99 each so it only cost $6 to organize this! They are meant to hang on the wall, which was originally my plan so I could store something underneath them. However, I like that they're loose so I can take them out to go through them, so I left them unattached to the wall--not a problem since they stand on their own.

Here is the before pic, sort of organized in buckets but not really working: 

Small Curtain Up-date

Sunday, October 6, 2013

I love to shop for the house and decorate, which can get hard since my house is already fully furnished and decorated. I try to make small changes to keep things fresh, which is why I was excited to add these clip rings to the sheer panel of my bedroom curtains!

 I got the idea from this Pottery Barn catalog.  I love looking through Pottery Barn, Crate and Barrel, West Elm, and Ballard Design catalogs for ideas to decorate and style my home.  I found this particular Pottery Barn catalog extra fun since it had a lot of holiday and decorating ideas.

Here is an image of the page I got the idea from. I've used clip rings before to hang curtains, but not on the sheer panel only! This  is why I pay attention to every detail when flipping though these catalogs!  Awesome ideas that get delivered to your house--for free!

 Before                                                         After

I love the detail that it adds, and that it ties in nicely with the new wrought iron nightstands I got antiquing last month!

Photo Collage

Sunday, September 15, 2013


 We first saw this layout for a photo collage at a friend's house, and I immediately wanted to do it for our guest bedroom! I love that together the frames make a substantial piece of art that fill the wall without being cluttered. I also like that we can change out the photos or use it in any house we move into.  I purchased all of the frames at Michael's with 40% off coupons, so the total ended up being about $80.  I didn't think that was bad considering a piece of art that large would have cost at least that much!   The photos are of our immediate family who stay in the room when they visit.  We used all sepia tone photos for a consistent look. 

Although this layout could be done with any size frames, this is what I used:
Three-8x10" Photo frames with Mat (used vertically)
Three-5x7" Photo frames with Mat (used horizontally)

The key is to make sure the outer edges all line up, so the outside edges create a perfect rectangle. Since the frames are all different sizes the gaps between them will all be different, but if the outside lines up your eye won't notice! 


Blogger Template created by Photographic Elements