Pages

Showing posts with label Crafts. Show all posts

DIY Halloween Kids Activities

Thursday, October 20, 2016

Since it's no secret that I LOVE Halloween, I like to send Halloween treats to our nieces and nephews to share the love!  Here are a couple of easy activities I made for the kids inspired by pinterest! 

The bowling set was made with leftover craft paint and 2x4's we had in the garage.  I just had to buy an 'eye' bowling ball at Walgreens and the kids can enjoy this for years!


For  a more simple activity, I used a sharpie to craw on some paint chips and cut them up for instant Halloween puzzles! Perfect for toddlers since you can make the pieces big and easy to put together. Easy to mail too!

Mummy Halloween Shirts for Kids

Thursday, October 6, 2016


When I saw this tutorial for a mummy Onesie on Carolina Charm last year, I had to make one for my newborn Niece!  Since it was so easy I made one for my Nephew on a boys's shirt so they could match.  The strips are actually the bottom of my craft room curtains that was cut off when I hemmed them.    I love how they turned out!

Personalized Onesie Using Cricut

Sunday, July 31, 2016

We've had a lot of friends have babies in the past year. A lot.  So the crafter in me has been trying to keep-up by making personalized onesies as gifts!  It's simple to do with a Cricut machine and I love that they're inexpensive and personalized!


Creating Iron-on Letters with Cricut
Use Cricut brand iron-on paper, available in plain or glitter
High Blade Setting: Med Speed, Med Pressure, Blade @ 3

1.     Test what you want to cut on regular paper before raising the blade to make sure you have the correct sizing without wasting iron-on paper
2.     When ready to cut iron-on paper, place iron on paper on mat plastic cover side down.
3.  Press the ‘FLIP’ button and type the word you want to cut backwards, so you would type ‘DEBBIE’ in as ‘EIBBED’
4.     Make sure the blade is set on ‘3’ and cut
5.     If using a large sheet of iron-on, cut around the image you cut with a scissors
6.     Remove negative space so only what you want to keep remains on the sticky plastic cover
7.     Stick cut-out onto material and iron right over the plastic.
8.     Peel off the plastic, and the letters will be stuck to the fabric! If there are any loose corners, simply iron them back down.

Valentines Day Shadowbox Craft

Sunday, January 31, 2016

Sometimes when we have guests I like to organize a craft for everyone to do to pass the time. When my family visited for Valentine's day last year, we made heart shadowboxes in honor of valentine's day!

Here is my Mom and then pregnant sister-in-law in my craft room working on their shadowboxes. 

I purchased a 3-pack of shadowboxes at Michael's and set out heart punches and a variety of paper so everyone could choose their colors.


Folding the hearts in half makes them 3-D when in the shadowbox.


Here are the finished products on display.  It was a fun 'girl's day in'!


Wine Tags

Sunday, January 10, 2016

We're always trying new wines and taking recommendations, but it's not always easy to remember why we bought a bottle or what we're suppose to serve it with. After labeling some bottles with post-its, I decided to make actual wine labels to keep myself organized and add a little flare to our wine rack.

The tags are easy and inexpensive to make.  All you need is black 'Chalkboard' paper tags, a white gel pen, and rubber bands.

Use the white gel pen to write whatever you like, then loop a rubber band through so they can easily slide on the neck of the bottle.  You can write on both sides of the tag to have more options to label the bottles.

Here is how the tags look in the wine rack in our new cupboards; subtle yet informative.

Most bottles are labeled with the food they should be paired with, but I labeled some 'Friday Night' or 'Tuesday Night' which is my code for 'cheap bottles' and 'nice bottles'.


When I decorate I always try to add small details that personalize our home and set it apart.  I think that these wine tags have been a great way to add some personalization to our new kitchen!

DIY Vacation Ornament

Sunday, November 29, 2015

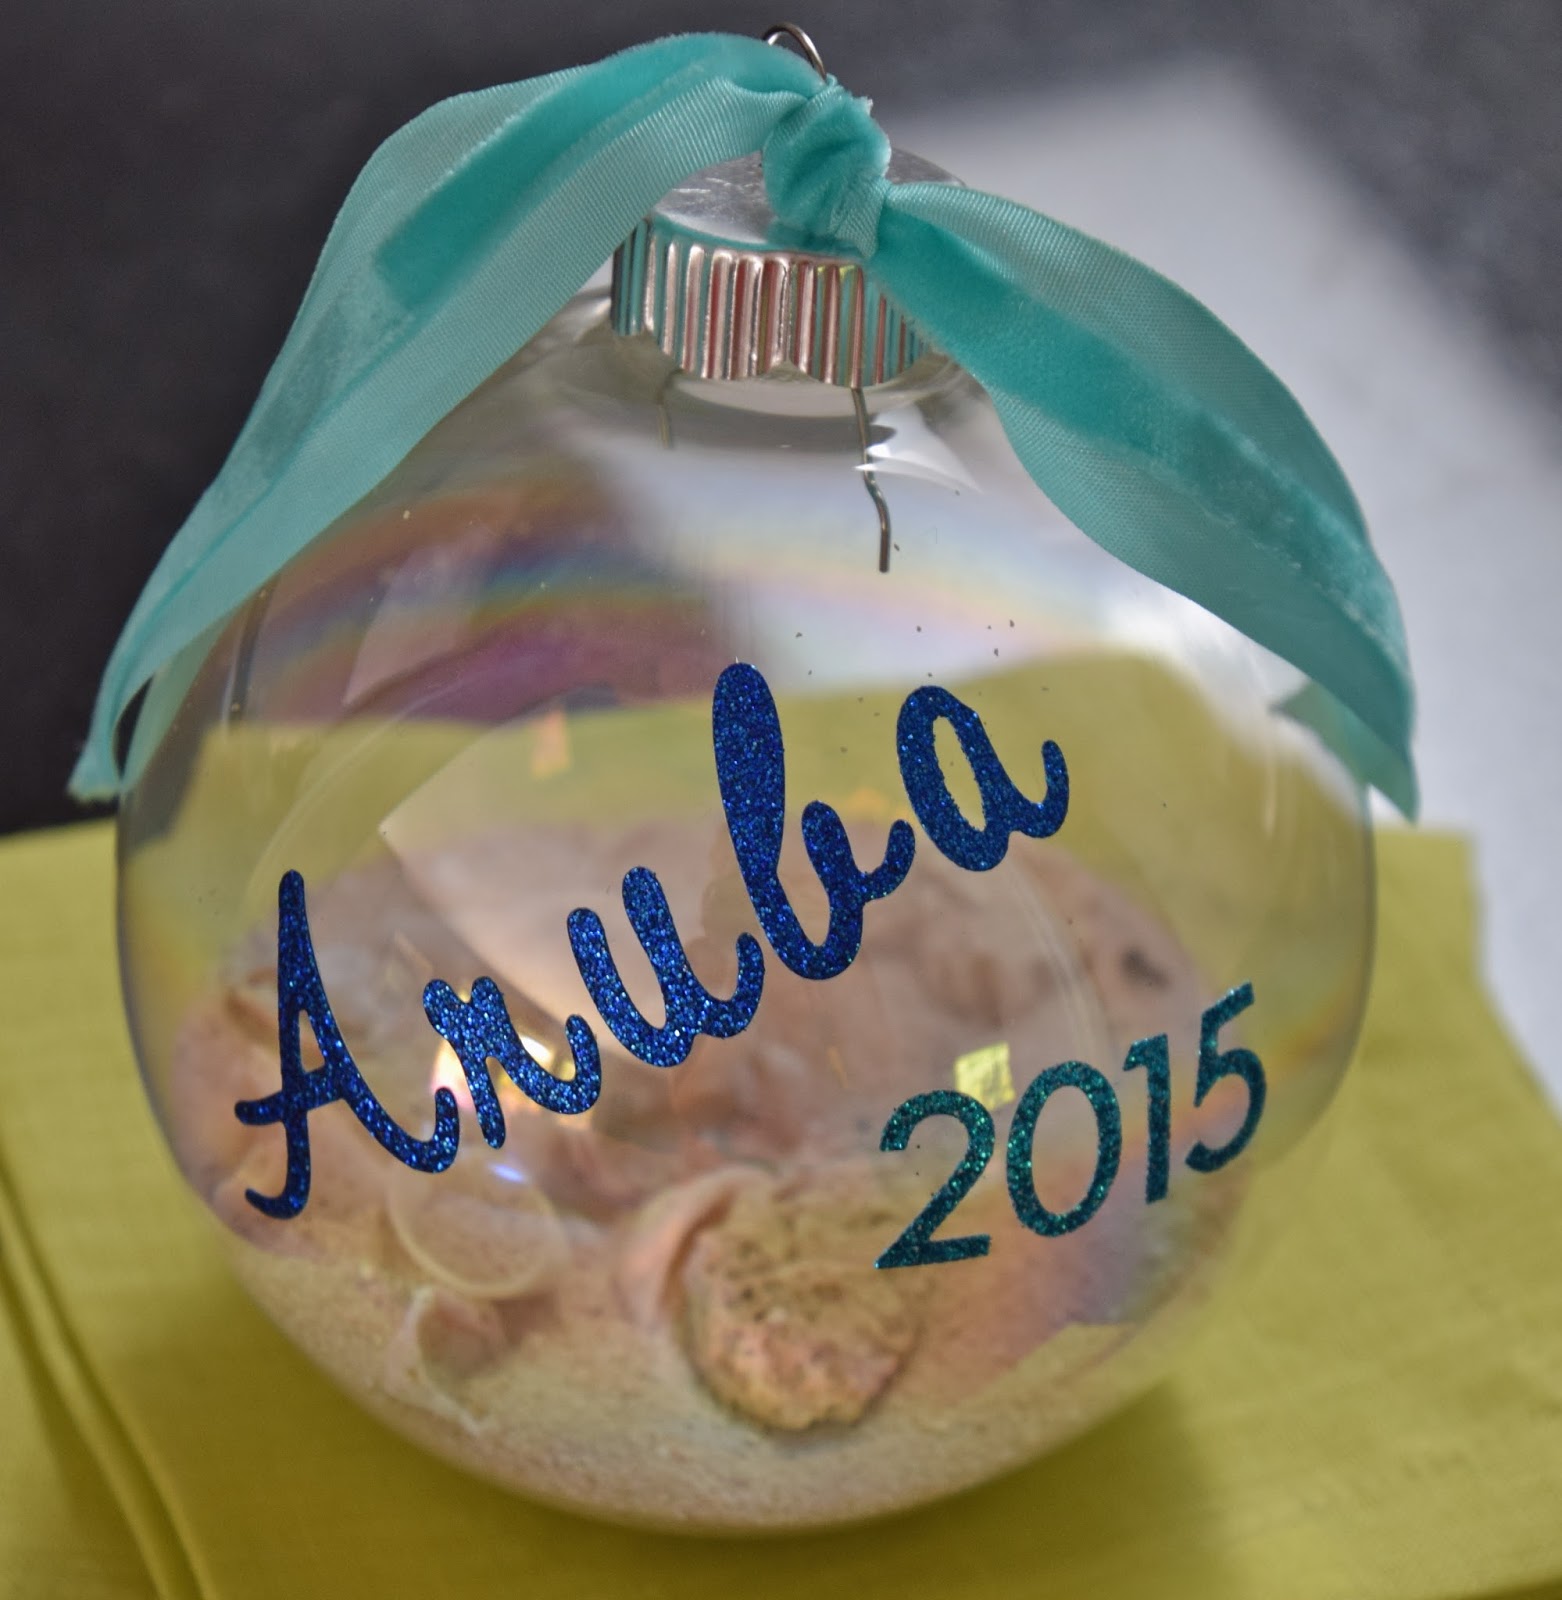
Since we got married we've always had a snowflake themed Christmas tree to go with our holiday decor.  While collecting snowflake ornaments I've also collected meaningful Christmas ornaments, including ones from our vacations.  When we were in Aruba last year I couldn't find any ornaments I liked so I decided to bring back some things to make my own.

While walking on the beach we collected a bag of sand and some shells.  When we were in town I bought a small turtle that said 'ARUBA' to put in the ornament as well. When we got home I picked-up some glass ornaments, stickers, and ribbon to make my own ornament.

I used a funnel to get the sand inside of the ornament and dropped in some shells.


Using scrap booking letter stickers I wrote 'Aruba 2015' on the outside of the ornament.  Tape worked well as a guideline.

I kept the box the glass ornament came in for storage, and to hold the extra glass ornaments until I get back from more trips!


DIY Vacation Souvenir for the Home

Sunday, November 22, 2015

We're not really 'Souvenir people', and judging by all the sombreros and coconuts at Goodwill I don't think most people are. Although we forego the typical tourist junk, I start every vacation by saying, "It would be neat if we could find something cool for the house", and every trip I'm disappointed with what we find.
 A couple of years ago we were in Cabo San Lucas where I was on the hunt for otomi napkins.  I was able to get a great deal on one that went great with our decor, but there was only one. I bought it anyway, and when we got home I turned the lone napkin into an accent pillow for our living room.  I love that is's a reminder of our vacation without screaming souvenir. Now when we go on vacation instead of looking for a perfect piece that doesn't exist, I look for things that I can use in less obvious ways to remember out travels.

DIY Wood-Burned Cutting Board Gift

Sunday, November 8, 2015

My parents recently remodeled their house so I thought it would be fun to burn a picture of their new house on a cutting board.  I figured it would be fairly easy since a house is straight lines.  It turned out so well that I made one for myself and my sister-in-law!

I started with an inexpensive cutting board from Home Goods.

The rest of the process is similar to the deck step I wood burned a few years ago. First, take a photo of the house and use powerpoint to make it the desired size and print.

Rub the back of the paper with oil pastels to turn it into 'tracing paper'.

Place the photo where you like on the cutting board and use tape to secure in place.

Use a pen to trace the outline of the house.

The oil pastels will transfer to the board on the lines traced. Use various wood burning tips to fill in the lines, and that's it!

Here is a close-up of the finished product. It was so easy to make a such a custom piece.  This would be a great gift for a house warming or any occasion!

DIY Scary Halloween Branch Decor

Thursday, October 15, 2015

This Halloween branch decor not only looks spooky and has a big impact, but it's basically free to make and doesn't need to be stored--just throw it away and make a new one next year!

I got the twigs from some brush in our backyard and spray painted them black with some paint we already had and put them in a vase
......added some fake spider web
...added some fake spiders
.....added this fake raven from the $ store and that was it!
Here it is on our Halloween bar cart. Is that spooky or what?!?

Wine Cork Rug

Sunday, September 13, 2015

 Thanks to the admin ladies at my husband's office, I had piles of corks in my craft closet that kept reminding me I was overdue for a wine cork craft.  

Since I've have already made ornaments and decorative letters out of corks, I was searching for something new to make.  When I came across the idea for a cork rug I thought it would be perfect to put by our patio door.  Since the door is in our living/dining room most rugs look out of place, but we still needed something to hold a pair of shoes for quick access to the deck.

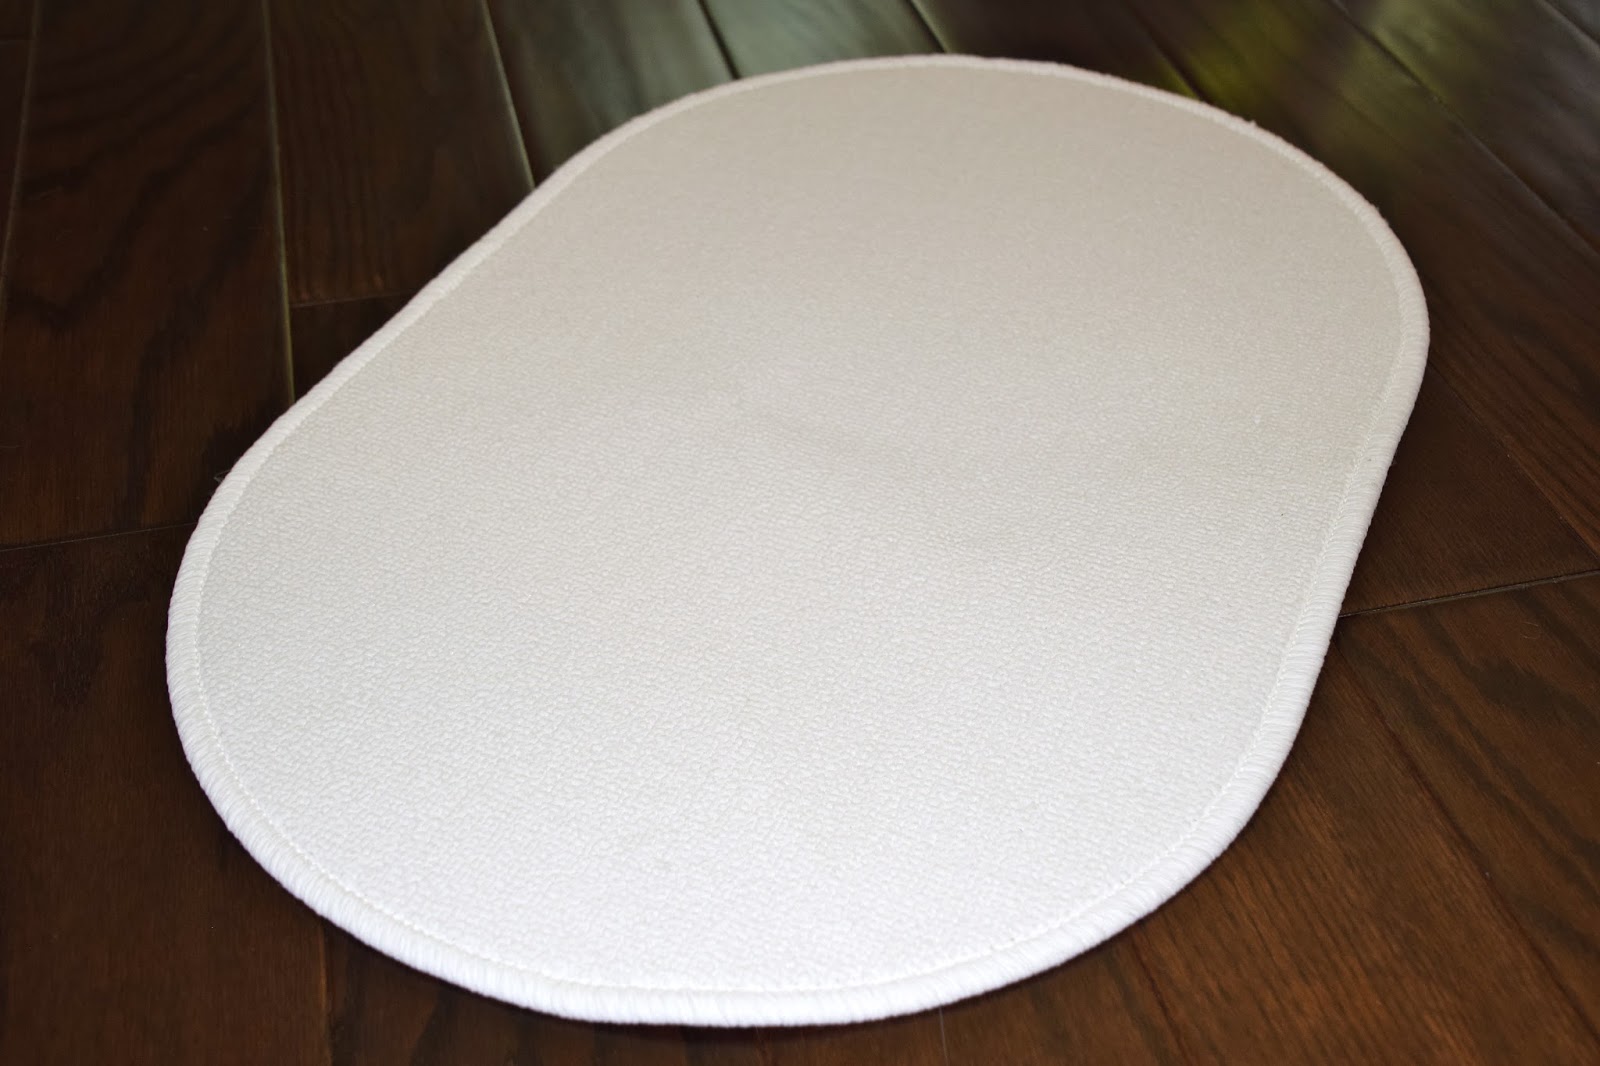
The rug base started as the Nackten rug from Ikea, which I think is $2.

Before I started I painted the edge of the rug dark brown to match our floors incase the edges would show. Then I began hours of hot gluing 200+ corks to the rug.  (This is a two-movie project).

After the rows of corks were glued I went pack and painted the additional white space.

In hindsight, I would have used a rectangular rug with straight edges as it got awkward trying to make the rounded border out of corks.

The finished rug is definitely unique!

Here's how it looks placed by our patio door.

Blogger Template created by Photographic Elements