Pages

Champagne Tags

Sunday, September 1, 2013

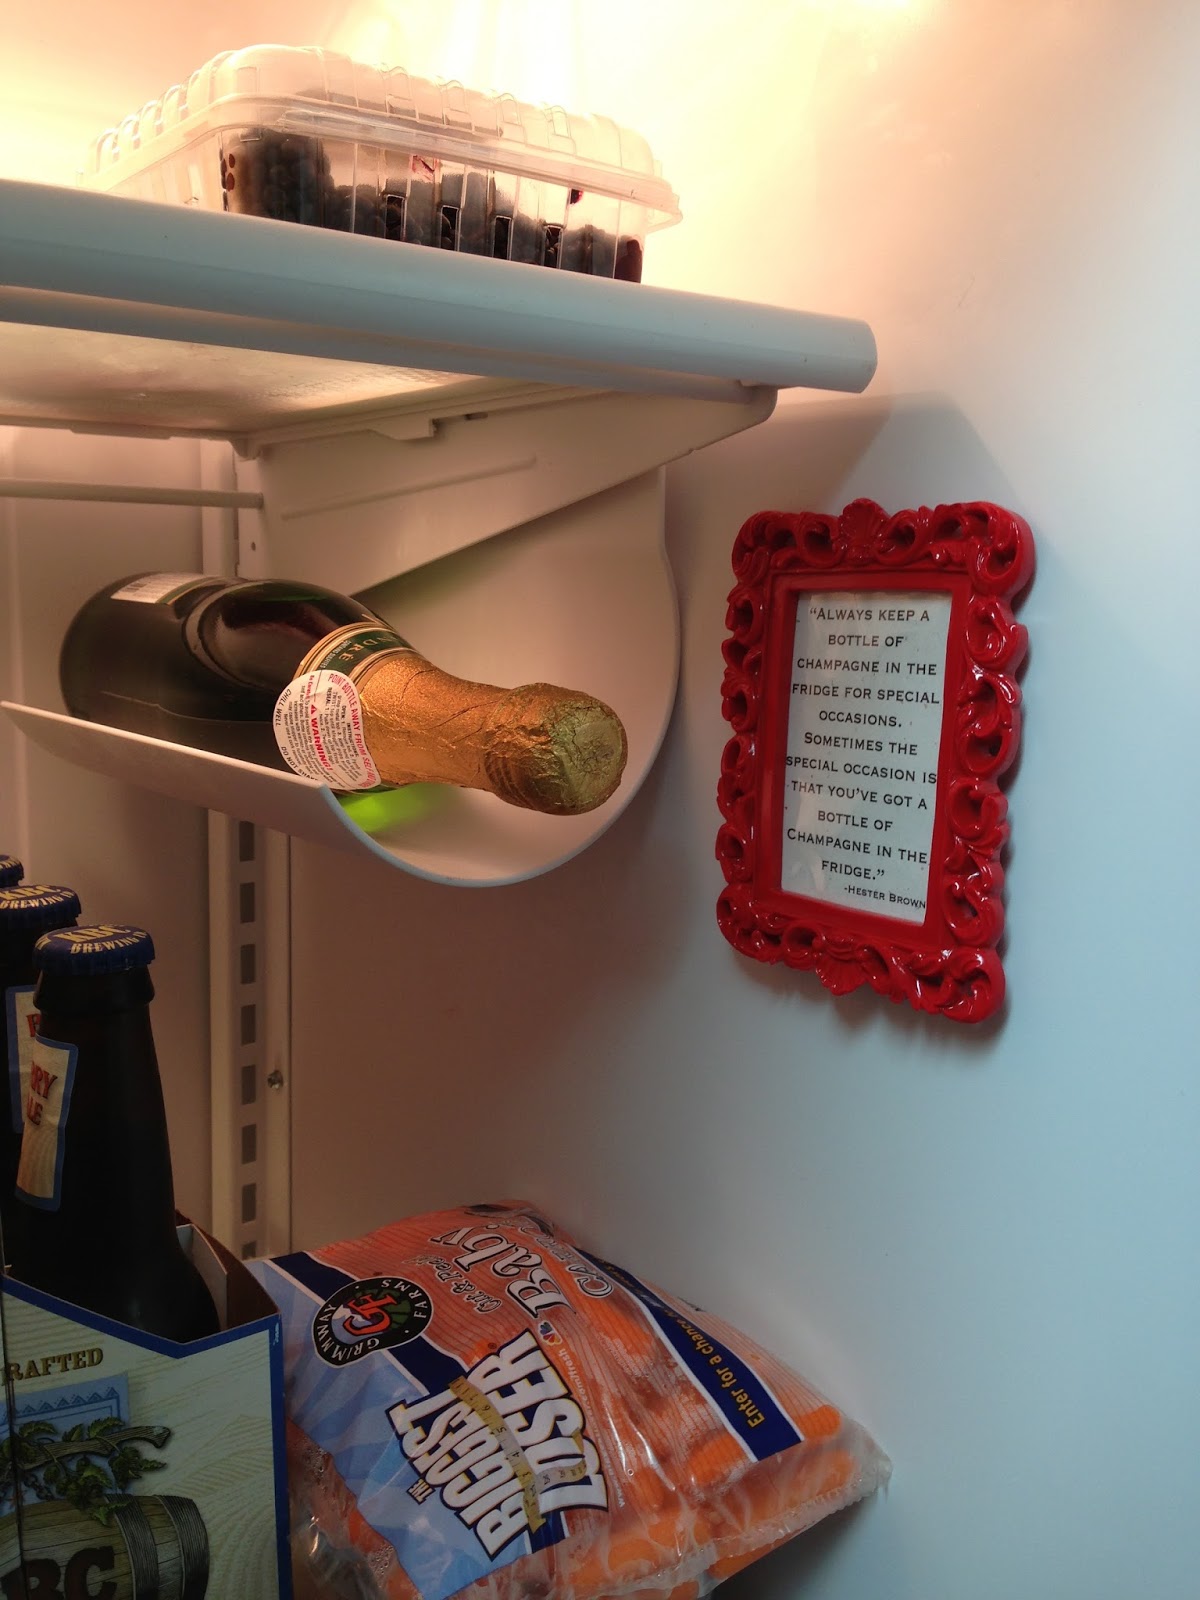
I knew I had to do something with this quote, since it is so true for me:

"Always keep a bottle of Champagne in the fridge for special occasions.  Sometimes the special occasion is that you've got a bottle of champagne in the fridge".-Hester Browne

I decided to make some bottle tags to give with Champagne as a gift!

I started with these mini-frames from Michael's which are found in the dollar bins for $2 each.

 I typed, printed, and cut out the quote to inset in each frame.  I threaded ribbon through the holes of the frame and tied a knot in the back, so it could hang from the neck of the bottle as a gift tag.


 Since the frame is left in-tact, it will stand on its own without the ribbon too, which would make for a cute favor along with a mini bottle of bubbles!

Since I love this so much and always have a bottle in my fridge to celebrate whatever life brings, I hung it up in my fridge for a little 'fridge decor'!


Summer Sunshine Box

Sunday, August 25, 2013

I recently sent these 'Summer Sunshine' boxes out to some friends and family. It was fun to put them together, and I finally used all of the boxes I had been saving from my Birchbox shipments! 

I found the labels and card on pinterest, so all I had to do was shop! Click here for links to the box labels and cards.

Below is a snapshot of everything I included in the boxes.  There were a lot of things I could have included, but I chose small, light-weight, and inexpensive items since I was mailing about 10 boxes.  I tried to stay away from dollar aisle items, since they added up quickly.  Instead, I looked for yellow items that came in packages that I could split-up.

It was hard to find non-food items, so I made a mix CD of Summer/Sunshine songs! Here is the playlist if you are interested!

  1. In The Summertime -Mungo Jerry 
  2. Night Moves- Bob Seger 
  3. Here Comes The Sun -The Beatles 
  4. Summer Nights- Lil Rob 
  5. Summer Girl- LFO 
  6. Island In The Sun -Weezer 
  7. Santa Monica- Everclear 
  8. Doin' Time (Uptown Dub) -Sublime 
  9. Summertime- Kenny Chesney 
  10. Pocket Full Of Sunshine -Natasha Bedingfield 
  11. Steal My Sunshine- Len 
  12. Girl -Beck 
  13. Cruel Summer -Ace of Base 
  14. Summer of 69- Bryan Adams 
  15. Summer Breeze -Seals and Croft 
  16. Halo / Walking On Sunshine- Glee Cast 
  17. Blister in the Sun- Violent Femmes


We Met. We Married. We Live.

Sunday, August 18, 2013

 After installing the board and batten in our entryway, we needed new wall hangings as our large mirror would no longer work due to the small ledge we created. I had first visioned a map for the space, so I decided to create  'We Met, We Married, We Live' decor as I had seen using maps to fill the space.

I purchased an old atlas at Goodwill to get the maps.  Not only was it inexpensive, I like that they have a vintage look (so much that I plan on using the pages I didn't use for this project as wrapping paper!)

I purchased the frames at Target and used scrapbooking letter stickers to put the words on the map.

 To mark the actual location on the map, I punched a small hole with a pun and secured a small, pink heart-shaped brad.

I hung the frames very close together, which I think makes them look more grand and high-end than simple Target frames. Here they are in the space! 

Entryway Up-date: Board and Batten

Sunday, August 11, 2013

We decided to add Board and Batten to our entryway to lighten it up and add more character--which it did!  My husband figured it all out so I won't tell you how it was done, but here are some pics!

Before                                                                     After


Paper Cutting Tip

Wednesday, August 7, 2013

I learned this tip from Kathee at Craft Club! Wrap a piece of tape around the ruler of your cutting board at 5.5" so you don't have to measure each piece of 8.5 x 11"card stock when cutting for cards!

Simple Must-Haves: Box of Pens

Sunday, August 4, 2013

I purchased an inexpensive box of 50 pens from Target that I keep for showers and parties only.  Not only do I not have to scramble to get enough pens when hosting an event that involves games or writing, but the ink is consistent if writing on something to give the guest of honor.  At the end of each party I just have to collect them, put them back in the box, and they're ready to go for the next event!

Utensil Holder Swap

Sunday, July 28, 2013


I was unhappy with my plastic Utensil holder in the kitchen.  It was way too small to hold everything, would tip over and the black plastic looked cheap.  So I moved it to the bathroom and it now holds my hair bushes and hand mirror and works great!

I keep it right inside the door under the cupboard.  It's so easy to toss them in there so they don't sit out on the counter all day like they used to!

I used one of my white ceramic planters from Ikea to serve as my new utensil holder.  It's large enough to hold everything, doesn't tip over, and the shiny white ceramic looks good enough to set out on the counter!

DIY Earring Holder

Sunday, July 21, 2013

 This DIY Earring holder works great for keeping all of my earrings that aren't studs. I love how it displays them so I remember what I have and don't just wear silver hoops with everything!

I started with a hallow frame.  This one game inside of a picture frame I used for my Scrabble art, sort of like a mat, so I had it lying around.  I measured my earrings so I had the spacing correct and marked where I wanted the stings to go.  I planned it so shorter earrings would go on top and longer earrings on the bottom.

I placed strings across the back side and held them tight to create tension while securing with hot glue.  I used some thin, grey, twine-like string that I already had.

 The finished product sets on my dresser and  leans against the wall  so the earrings can hang.


DIY Bedroom Rug

Sunday, July 14, 2013


When I couldn't find a rug to match my bedroom, I decided to paint one after seeing it done on-line.  My duvet cover is very textured, so I wanted something more flat, with a design, but not a busy design that would compete with the duvet.  I decided on thick stripes and used some leftover grey paint from the walls.  It dried a little darker than the walls which I love, as it matches without matching exactly.

 I started with an inexpensive rug from Ikea which is no longer sold (sad because I wanted to make another rug for my living room).  I taped off the stripes using painters tape. I started small incase I needed to change them, then taped across the entire rug.
Although the stripes ended up being even, the tape doesn't appear that way since I placed the tape on either the inside or outside of my line so the tape would lay completely on the areas that would remain white, leaving the entire area for the grey stripe exposed (the larger stripes below).
I applied three coats of paint with a small roller which was almost a quart of paint. I used placed plastic garbage bags underneath so if paint soaked through it wouldn't get on my floor.  After the paint dried, I removed the tape and sprayed the entire rug with scotch-guard to protect the white areas from getting dirty.


Here is the finished product! I love how it completes the room:
Before                                              After


Pasta Gift Basket

Sunday, July 7, 2013

My Mom LOVES pasta, so I thought she would enjoy a pasta themed gift basket for her birthday!  I decided to use all Giada De Laurentiis for Target items, since the products seemed interesting and the colors in the packaging would make for a cute basket!

Here's what I included:
Giada Items:
Organic Fusilli Col Buco Pasta
Organic Orzo Pasta
Herb Focaccia Bread Mix
Herb and Lemon Dipping Oil
Raspberry Vinagrette
Pepper & Eggplant Tomato Spread
Creamy Tomato Pasta Sauce
Marsala Simmer Sauce

Other items:
Sparkling Mineral Water
White Wine
Red Wine
Napkins
Paper Straws
Toblerone Bar
Ferrero Rocher Chocolates

All of the items except the wine were purchased at Target. I put it all together in a white beverage tub (also from Target), which was large enough and also something I knew my Mom would use.  The 'CHEERS' banner was made using my Cricut and scraps of paper.

Blogger Template created by Photographic Elements